阿里Weex框架Android平台初体验
Weex is a extendable cross-platform solution for dynamic programming and publishing projects.Weex是针对动态编程和发布项目的一个可扩展、跨平台的解决方案。
这是来自 Weex Document 的介绍。这句话个人感觉还是非常有诱惑力的。为什么?击中移动端开发两个痛点。
- 动态编程+发布。Weex能做到随时编程发布到服务端,应用端即时更新。想想以前,应用开发-测试-发布,多么繁琐和耗时的一个流程,万一线上出了bug,那真是痛不欲生,尤其时用户量上百万千万的应用,老板连杀你的心都有。但是有了Weex就不一样了。修复bug,用户都是无感知的(老板也是无感知的,哈哈哈)。
- 跨平台。这是移动端无数人向往的和为之努力的事。一处编写,到处运行。Weex支持Android,iOS,Web三大平台,一份代码,三个平台通用。等到有一天,Weex真的发展强大起来,公司成本估计可以节省不少。会不会一个Weex开发人员拿三份工资呢?(估计是我想太多:joy:)
HelloWorld
博主在六月初就开始关注Weex,终于在六月份最后时刻Weex如期而至。于是迫不及待入坑。官方文档不算多,我花了一天时间过了一遍,然后决定开始动手实践一下。实践过程中还是遇到一些问题or坑。原因主要是官方文档比代码有点滞后。有些地方code已经到0.5.1版本了,文档还是0.4.1的,按照 集成文档 来操作,会出现一些 ClassNotFound Exception 。后来我根据 Github 上面的Android Demo-playground中的代码来对比调试,才成功将这个HelloWorld运行起来。建议同学们文档和Demo结合来看。怕坑的同学等1.0发布了再来吧。:joy:
HelloWorld实践
- 新建Android Project。module 命名为app 即可。MainActivity选择EmptyActivity就好。这点相信大家都会。
-
配置build.gradle。在app的build.gradle中添加Weex依赖。如下:
compile 'com.taobao.android:weex_sdk:0.5.1'
compile 'com.squareup.picasso:picasso:2.5.2'
compile 'com.alibaba:fastjson:1.1.46.android'
后面两个依赖一个用于图片加载,一个用于解析Json,不加上会出现
ClassNotFoundException。可以在 Jcenter 地址查找最新版本。截至本文章发布日,当前最新版本为0.5.1。
-
在Manifest.xml中添加网络权限。
<uses-permission android:name="android.permission.INTERNET" />
-
在代码中启动Weex RunTime,用于渲染UI。
public class WXApplication extends Application {
    @Override
    public void onCreate() {
        super.onCreate();
        WXEnvironment.addCustomOptions("appName","TBSample");
        WXSDKEngine.initialize(this,new InitConfig.Builder()
        .setImgAdapter(new ImageAdapter())
        .build()
    }
}
其中ImageAdapter是一个自定义的类,用于加载图片。如何没有配置这个ImageAdapter,熟悉的
ClassNotFoundException将再次出现。:joy:
public class ImageAdapter implements IWXImgLoaderAdapter {

    public ImageAdapter() {
    }

    @Override
    public void setImage(final String url, final ImageView view,
        WXImageQuality quality, WXImageStrategy strategy) {

        WXSDKManager.getInstance().postOnUiThread(new Runnable() {

            @Override
            public void run() {
                if(view==null||view.getLayoutParams()==null){
            return;
            }
            if (TextUtils.isEmpty(url)) {
                view.setImageBitmap(null);
                return;
            }
            String temp = url;
            if (url.startsWith("//")) {
                temp = "http:" + url;
            }
            if (view.getLayoutParams().width <= 0 || view.getLayoutParams().height <= 0) {
                return;
            }
            Picasso.with(WXEnvironment.getApplication())
            .load(temp)
            .into(view);
            }
        },0);
    }
} -
在MainActvity中渲染UI。
public class MainActivity extends AppCompatActivity {

    RelativeLayout viewGroup;
    private static final String DEFAULT_IP = "your_current_IP";
    private static String CURRENT_IP= DEFAULT_IP; // your_current_IP
    private static final String WEEX_INDEX_URL = "http://"+CURRENT_IP+":12580/examples/build/index.js";

    @Override
    protected void onCreate(Bundle savedInstanceState) {
        super.onCreate(savedInstanceState);
        setContentView(R.layout.activity_main);
        viewGroup = (RelativeLayout)findViewById(R.id.viewGroup);
        WXSDKInstance mInstance = new WXSDKInstance(this);
        mInstance.registerRenderListener(new IWXRenderListener() {
        @Override
        public void onViewCreated(WXSDKInstance instance, View view) {
            viewGroup.addView(view);
        }

        @Override
        public void onRenderSuccess(WXSDKInstance instance, int width, int height) {

        }

        @Override
        public void onRefreshSuccess(WXSDKInstance instance, int width, int height) {

        }

        @Override
        public void onException(WXSDKInstance instance, String errCode, String msg) {

        }
    });
    renderPage(mInstance,getPackageName(), WXFileUtils.loadFileContent("hello.js",this),WEEX_INDEX_URL,null);
    }

protected void renderPage(WXSDKInstance mInstance,String packageName,String template,String source,String jsonInitData){
    Map<String, Object> options = new HashMap<>();
    options.put(WXSDKInstance.BUNDLE_URL, source);
    mInstance.render(
    packageName,
    template,
    options,
    jsonInitData,
    WXViewUtils.getScreenWidth(this),
    WXViewUtils.getScreenHeight(this),
    WXRenderStrategy.APPEND_ASYNC);
    }
}
布局文件为:
<?xml version="1.0" encoding="utf-8"?>
<RelativeLayout
    xmlns:android="http://schemas.android.com/apk/res/android"
    android:layout_width="match_parent"
    android:layout_height="match_parent"
    android:id="@+id/viewGroup"
    >
</RelativeLayout>
- 在app的main/assets目录下放入新建hello.js,复制一下内容。该文件内容是从playground复制而来。本文只是为了展示集成demo,故直接复制。如果想自己写,那么根据文档写好.we,然后再利用week-toolkit将.we转换为.js即可。
/******/ (function(modules) { // webpackBootstrap
/******/  // The module cache
/******/  var installedModules = {};

/******/  // The require function
/******/  function __webpack_require__(moduleId) {

/******/   // Check if module is in cache
/******/   if(installedModules[moduleId])
/******/    return installedModules[moduleId].exports;

/******/   // Create a new module (and put it into the cache)
/******/   var module = installedModules[moduleId] = {
/******/    exports: {},
/******/    id: moduleId,
/******/    loaded: false
/******/   };

/******/   // Execute the module function
/******/   modules[moduleId].call(module.exports, module, module.exports, __webpack_require__);

/******/   // Flag the module as loaded
/******/   module.loaded = true;

/******/   // Return the exports of the module
/******/   return module.exports;
/******/  }


/******/  // expose the modules object (__webpack_modules__)
/******/  __webpack_require__.m = modules;

/******/  // expose the module cache
/******/  __webpack_require__.c = installedModules;

/******/  // __webpack_public_path__
/******/  __webpack_require__.p = "";

/******/  // Load entry module and return exports
/******/  return __webpack_require__(0);
/******/ })
/************************************************************************/
/******/ ([
/* 0 */
/***/ function(module, exports) {

;__weex_define__("@weex-component/0f3c9ae76450de3e67cfabcbf5621bf7", [], function(__weex_require__, __weex_exports__, __weex_module__){

;__weex_module__.exports.template = __weex_module__.exports.template || {}
;Object.assign(__weex_module__.exports.template, {
"type": "div",
"children": [
{
"type": "text",
"style": {
"fontSize": 100
},
"attr": {
"value": "Hello World."
}
}
]
})
})
;__weex_bootstrap__("@weex-component/0f3c9ae76450de3e67cfabcbf5621bf7", {
"transformerVersion": "0.3.1"
},undefined)

/***/ }
/******/ ]);
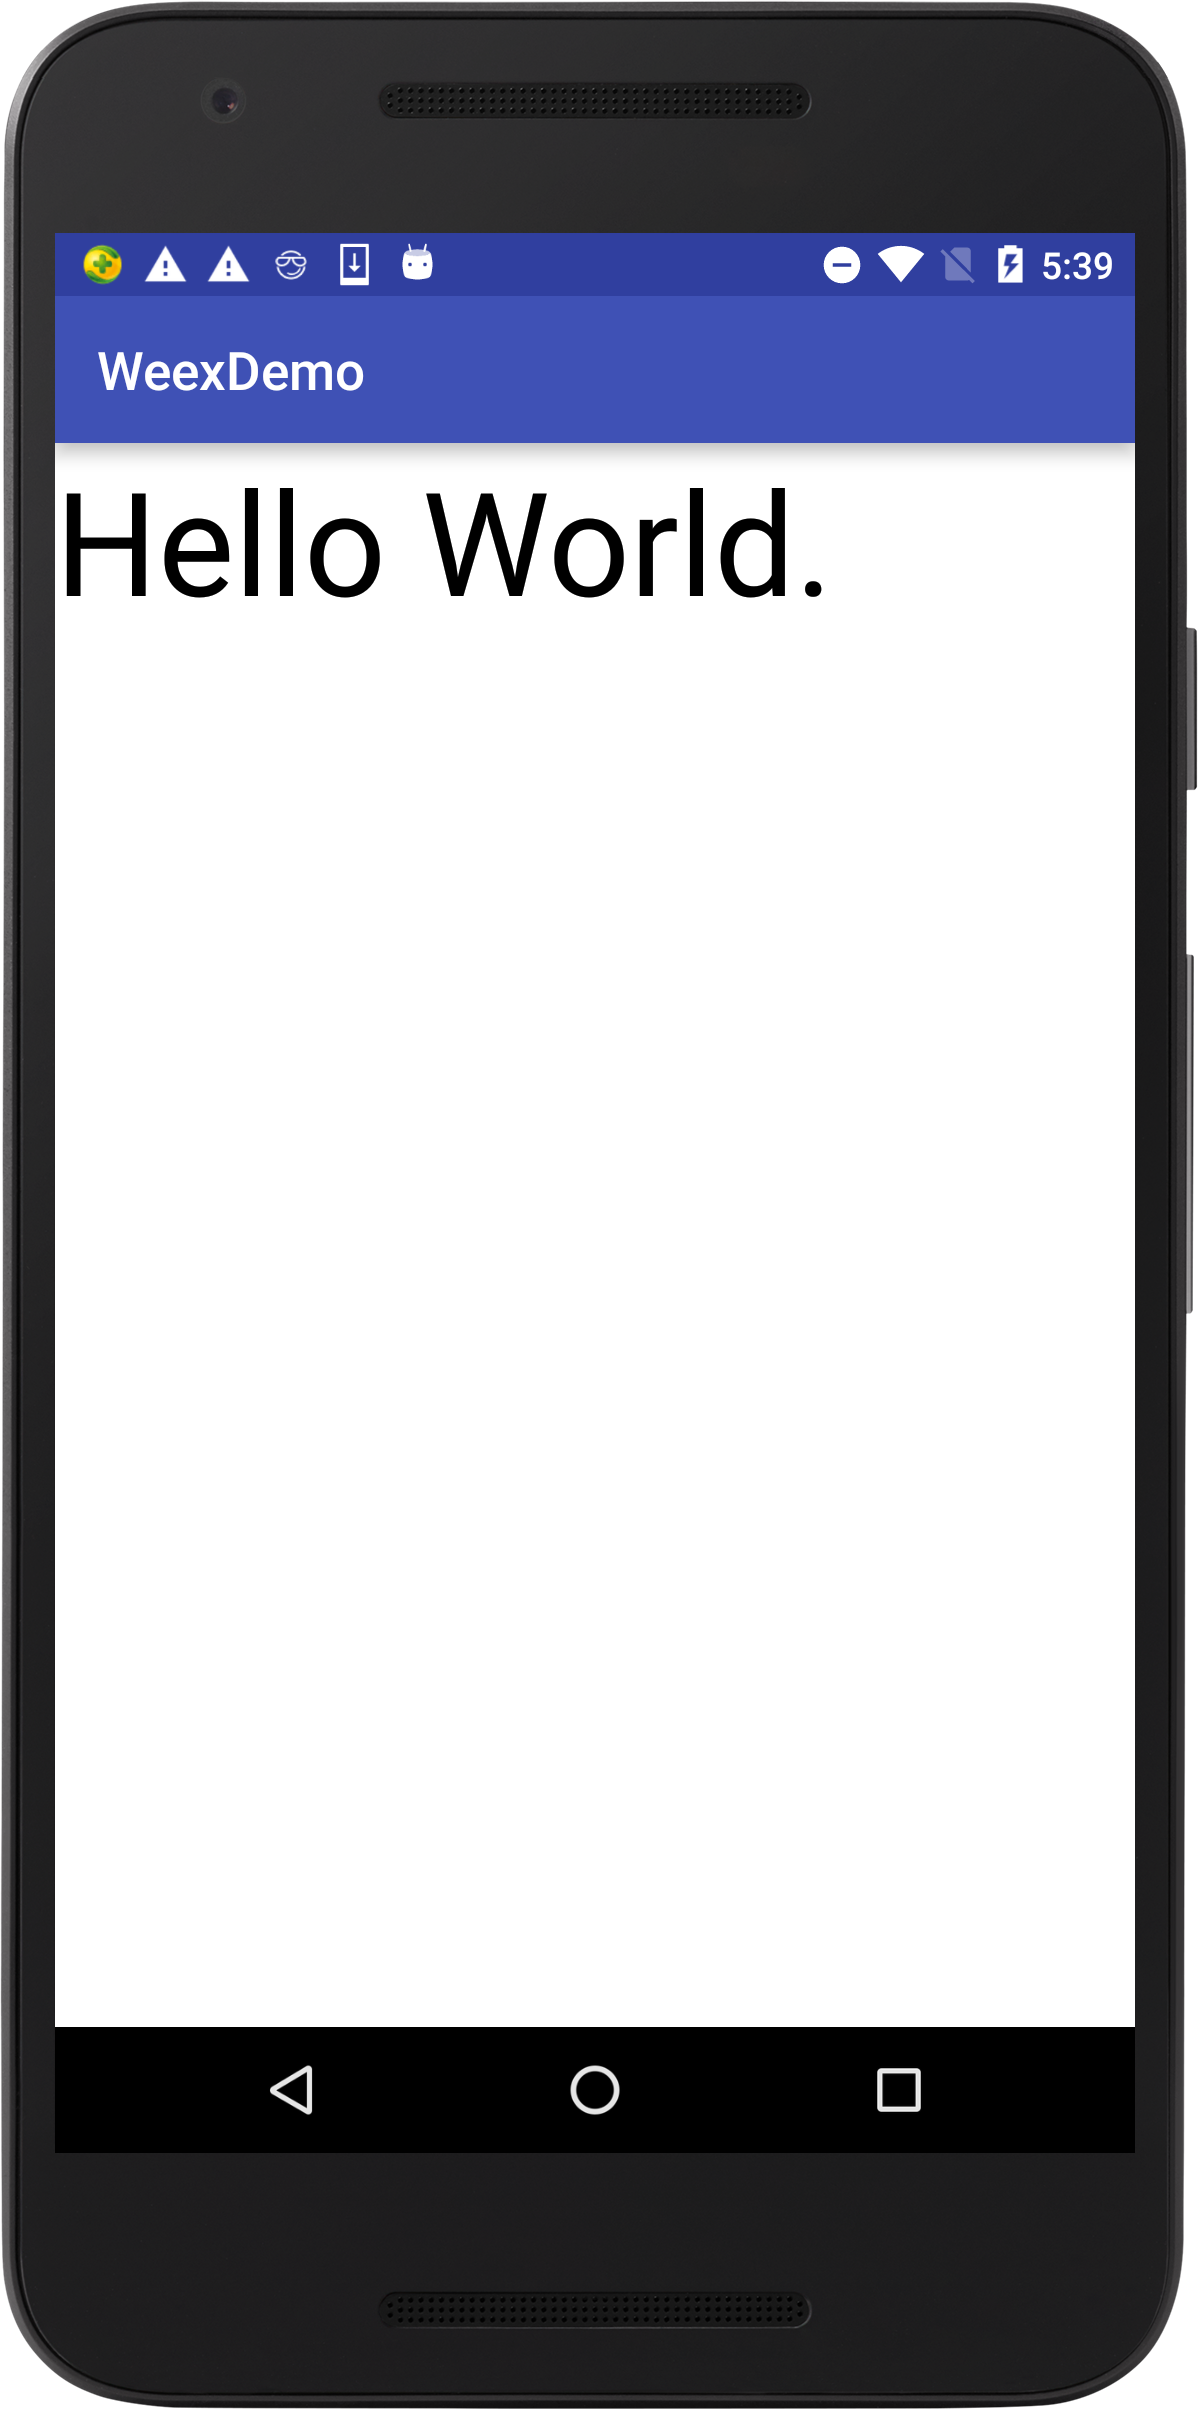
至此,整个项目即成完毕。点击Android Studio Run 运行项目,Weex版HelloWorld出现了
本文项目代码已上传到 Github:https://github.com/kingofglory/weex-demo.git 。欢迎start or fork。
总结:相比React Native,Weex入门还算简单,值得一试。
希望:Github issue勤快点回答,开发社区赶紧完善好,资料丰富起来。
建议:文档能不能配点图啊。还有中文版什么时候出来。。。
欢迎关注公众号:
正文到此结束
热门推荐


相关文章


Loading...
![[HBLOG]公众号](http://www.liuhaihua.cn/img/qrcode_gzh.jpg)

