SpringCloud教程:服务治理Eureka
Spring Cloud通过为Eureka增加了Spring Boot风格的自动化配置,只需要通过简单引入依赖和注解配置就能让Spring Boot构建的微服务轻松地与Eureka服务治理体系进行整合。
使用示例
搭建服务注册中心
使用 Gradle 创建一个基础的SpringBoot工程,命名为eureka-server, eureka-service/build.gradle 文件内容如下:
buildscript {
	ext {
		springBootVersion = '2.1.6.RELEASE'
	}
	repositories {
		mavenCentral()
	}
	dependencies {
		classpath("org.springframework.boot:spring-boot-gradle-plugin:${springBootVersion}")
	}
}

apply plugin: 'java'
apply plugin: 'eclipse'
apply plugin: 'idea'
apply plugin: 'org.springframework.boot'
apply plugin: 'io.spring.dependency-management'

bootJar {
	baseName = 'eureka-service'
	version = '0.0.1-SNAPSHOT'
}
sourceCompatibility = 1.8
targetCompatibility = 1.8

repositories {
	mavenCentral()
}


dependencyManagement {
	imports {
		mavenBom 'org.springframework.cloud:spring-cloud-dependencies:Finchley.SR2'
	}
}

dependencies {
	compile('org.springframework.cloud:spring-cloud-starter-netflix-eureka-server')
	testCompile('org.springframework.boot:spring-boot-starter-test')
}


eclipse {
	classpath {
		 containers.remove('org.eclipse.jdt.launching.JRE_CONTAINER')
		 containers 'org.eclipse.jdt.launching.JRE_CONTAINER/org.eclipse.jdt.internal.debug.ui.launcher.StandardVMType/JavaSE-1.8'
	}
}
复制代码
启动一个服务注册中心非常简单,只需在Spring boot应用的Application类添加 @EnableEurekaServer 注解即可。代码如下:
@SpringBootApplication
@EnableEurekaServer
public class EurekaServiceApplication {

    public static void main(String[] args) {
        SpringApplication.run(EurekaServiceApplication.class, args);
    }
}
复制代码
配置文件 application.properties 内容如下:
server.port=8761
# 该应用为注册中心,因此不向注册中心注册自己
eureka.client.register-with-eureka=false
# 注册中心不需要检索服务
eureka.client.fetch-registry=false
eureka.client.serviceUrl.defaultZone=http://localhost:${server.port}/eureka/
复制代码
启动应用并访问 http://localhost:8761/ ,可以看到Eureka信息面板。
注册服务提供者
接下来创建一个命名为hello-service服务提供者,hello-service/build.gradle文件内容如下:
buildscript {
    ext {
        springBootVersion = '2.1.6.RELEASE'
    }
    repositories {
        mavenCentral()
    }
    dependencies {
        classpath("org.springframework.boot:spring-boot-gradle-plugin:${springBootVersion}")
    }
}

apply plugin: 'java'
apply plugin: 'eclipse'
apply plugin: 'idea'
apply plugin: 'org.springframework.boot'
apply plugin: 'io.spring.dependency-management'

group 'com.blockmao'
version '1.0-SNAPSHOT'

sourceCompatibility = 1.8
targetCompatibility = 1.8


repositories {
    mavenCentral()
    maven { url "http://maven.aliyun.com/nexus/content/groups/public/" }
    maven { url "https://repo.spring.io/milestone" }
}


dependencyManagement {
    imports {
        mavenBom 'org.springframework.cloud:spring-cloud-dependencies:Finchley.SR2'
    }
}

dependencies {
    compile('org.springframework.cloud:spring-cloud-starter-netflix-eureka-server')
    testCompile('org.springframework.boot:spring-boot-starter-test')
}
复制代码
使用 @EnableEurekaClient 表明该应用为Eureka Client,代码如下:
@SpringBootApplication
@EnableEurekaClient
public class EurekaClientApplication {

    public static void main(String[] args) {
        SpringApplication.run(EurekaClientApplication.class, args);
    }
}
复制代码
配置文件 application.properties 内容如下:
spring.application.name=hello-service
server.port=8080
eureka.client.serviceUrl.defaultZone=http://localhost:8761/eureka/
复制代码
启动应用并访问 http://localhost:8761/ ,可以看到服务的注册信息,如下所示:

服务发现与消费
最后,创建一个命名为 hello-consumer 服务消息者, hello-consumer/build.gradle 和服务提供者相同。
@EnableEurekaClient
@SpringBootApplication
public class ConsumerApplication {

    @Bean
    @LoadBalanced
    RestTemplate restTemplate(){
        return new RestTemplate();
    }

    public static void main(String[] args) {
        SpringApplication.run(ConsumerApplication.class,args);
    }
}

@RestController
public class ConsumerController {

    @Resource
    private RestTemplate restTemplate;

    @RequestMapping(value = "/hello-consumer",method = RequestMethod.GET)
    public String helloConsumer(String msg){
        Map<String,Object> params = new HashMap<>();
        params.put("msg",msg);
        return restTemplate.getForEntity("http://HELLO-SERVICE/hello",String.class,params).getBody();
    }
}
复制代码
配置文件 application.properties 内容如下:
spring.application.name=hello-consumer
server.port=9090
eureka.client.serviceUrl.defaultZone=http://localhost:8761/eureka/
复制代码
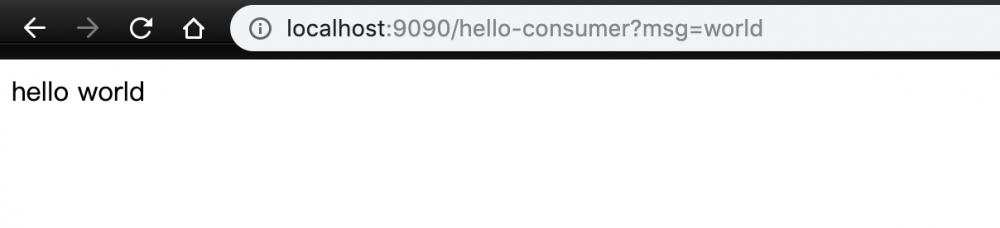
启动应用并访问 http://localhost:9090/hello-consumer?msg=world ,如下图所示:
注册中心高可用
Eureka Server 的高可用是将自己作为服务向其他服务注册中心注册自己,这样就可以形成一组相互注册的服务注册中心,以实现服务清单的互相同步,达到高可用的效果。在单节点的注册中心基础之上进行扩展,构建一个双节点的服务注册中心集群。
-
首先修改一下
/etc/hosts文件,添加如下:127.0.0.1 peer1 peer2 复制代码
-
创建
application-peer1.properties,作为peer1服务中心的配置,并将serviceUrl指向peer2:spring.application.name=eureka-server server.port=1111 eureka.instance.prefer-ip-address=true eureka.client.serviceUrl.defaultZone=http://127.0.0.1:1112/eureka 复制代码
-
创建
application-peer2.properties,作为peer2服务中心的配置,并将serviceUrl指向peer1:spring.application.name=eureka-server server.port=1112 eureka.instance.prefer-ip-address=true eureka.client.serviceUrl.defaultZone=http://127.0.0.1:1111/eureka 复制代码
-
通过
spring.profiles.active属性来分别启动peer1和peer2:java -jar eureka-server-1.0-SNAPSHOT.jar --spring.profiles.active=peer1 java -jar eureka-server-1.0-SNAPSHOT.jar --spring.profiles.active=peer2 复制代码
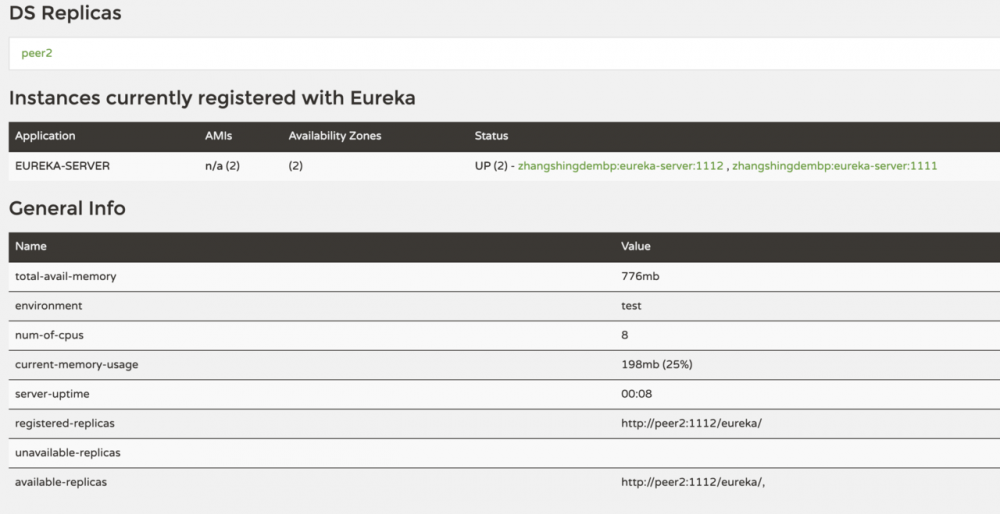
访问peer1的注册中心 http://localhost:1111 ,如下图所示:
正文到此结束
- 本文标签: IDE 同步 bean springcloud spring https UI consumer Service bug ip 配置 dependencies 1111 springboot 微服务 eclipse REST http 高可用 HashMap maven map Eureka entity Spring Boot 服务注册 自动化 集群 value src id 注册中心 db cat App client IO Netflix classpath tar 代码 build plugin Spring cloud java
- 版权声明: 本文为互联网转载文章,出处已在文章中说明(部分除外)。如果侵权,请联系本站长删除,谢谢。
- 本文海报: 生成海报一 生成海报二
热门推荐


相关文章

近期评论
-
你这基本没有更新呀,最近文章显示还是2019年的文章。不符合要求哈
-
关键词:慕云博客 链接:https://www.lilun.me 描述:分享原创文字的个人博客
-
-
-
可以提供一下源码吗
-
不是商业站,鸡娃学习笔记
-
-
-
-
听他们说很厉害的样子
Loading...
![[HBLOG]公众号](http://www.liuhaihua.cn/img/qrcode_gzh.jpg)

