搭建eureka高可用
Eureka高可用
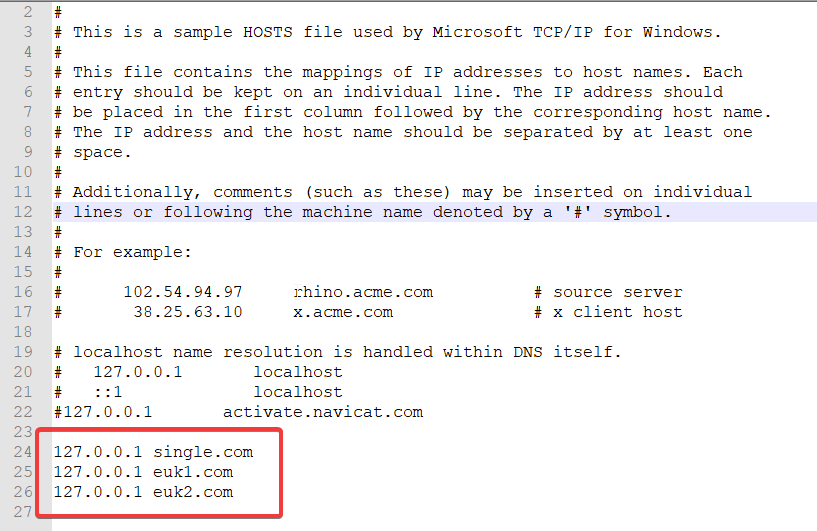
1.设置服务器之间的host,测试环境是在window10上搭建的,所以去修改C:/Windows/System32/drivers/etc文件,如下:
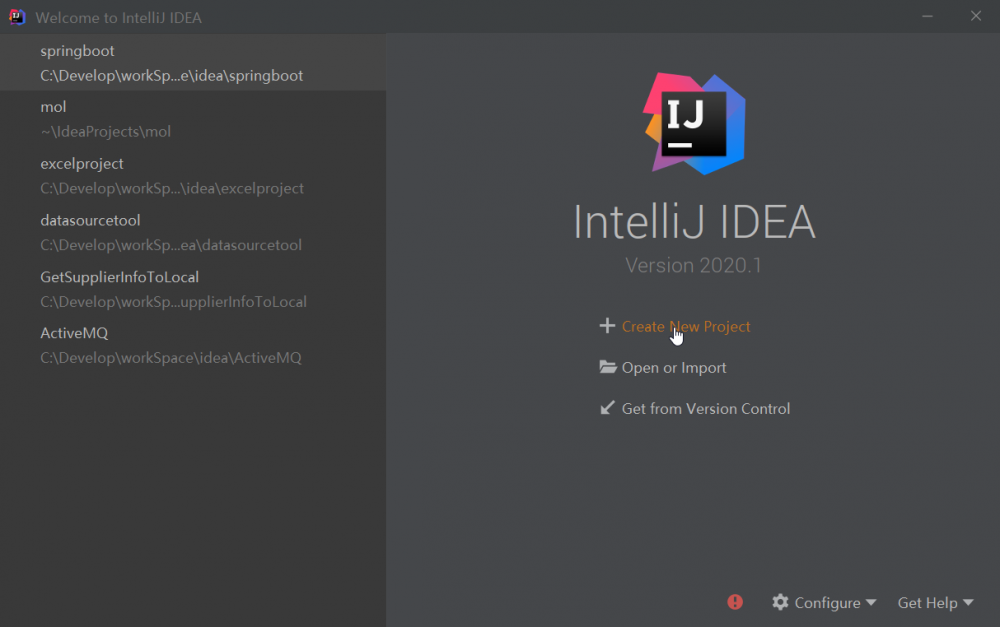
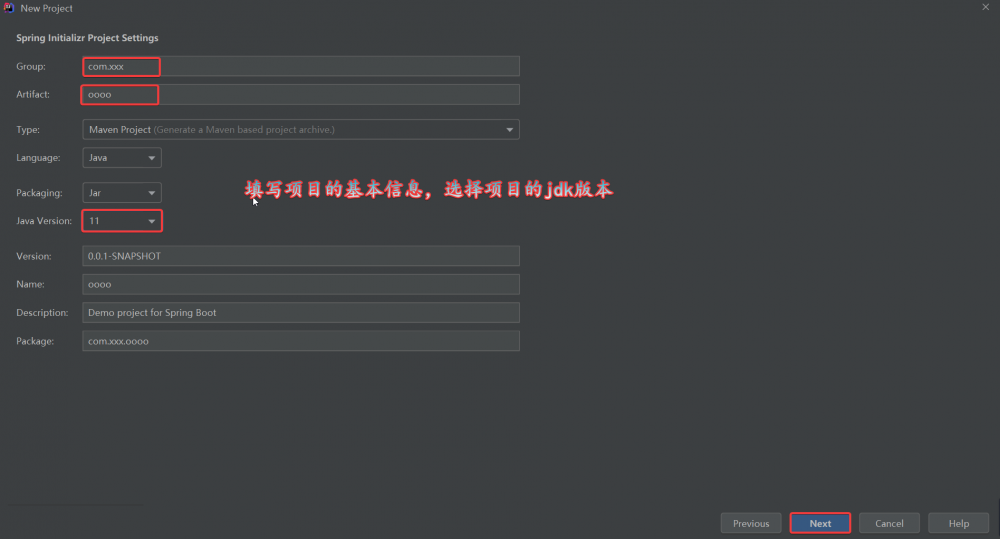
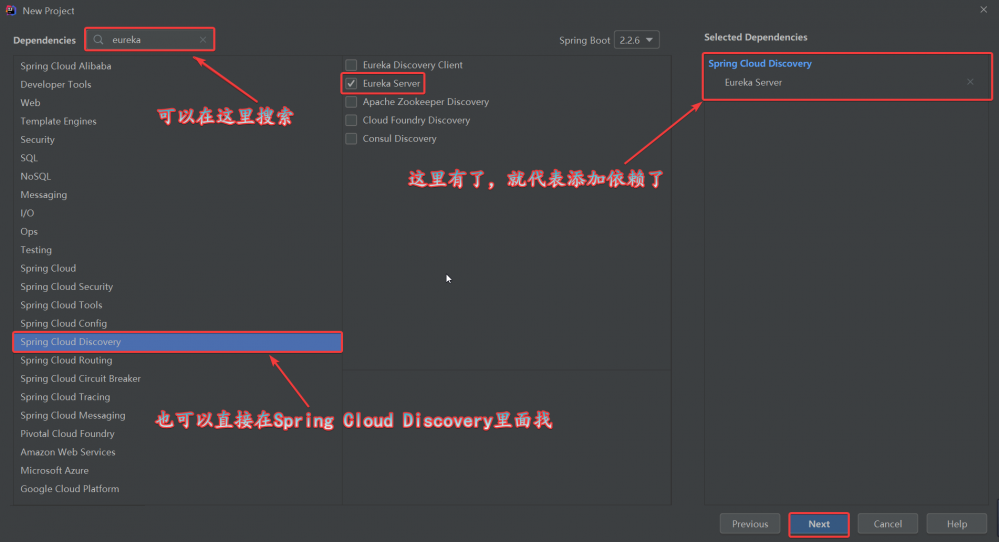
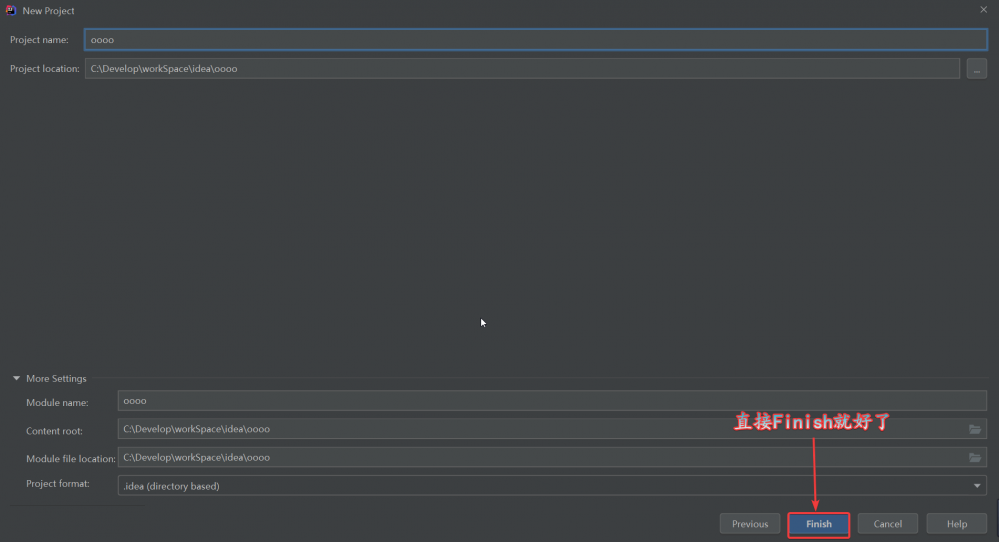
2.创建项目:

3.编辑配置文件:
application.yml:

  #一组服务需要使用相同的服务名称,才能被识别为一组!
  application:
    name: eureka-server
application-euk1.yml:

eureka:
  client:
    #集群模式需要设置为true
    register-with-eureka: true
    #集群模式需要设置为true
    fetch-registry: true
    #设置服务注册中心的URL,用于client和server端交流
    #注意事项:
    #eureka.client.serviceUrl.defaultZone配置项的地址,不能使用localhost,要使用service-center-1之类的域名,通过host映射到127.0.0.1;
    service-url:
      defaultZone: http://euk2.com:8702/eureka/
  instance:
    #hostname为必填
    hostname: euk1.com
server:
  port: 8701
application.euk2.yml:

eureka:
  client:
    register-with-eureka: true
    fetch-registry: true
    service-url:
      defaultZone: http://euk1.com:8701/eureka/
  instance:
    hostname: euk2.com
server:
  port: 8702
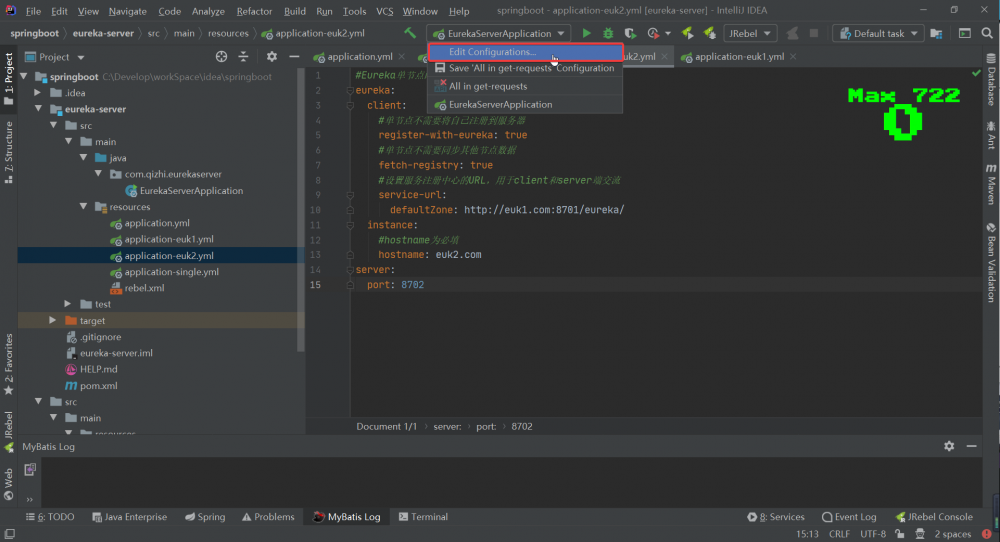
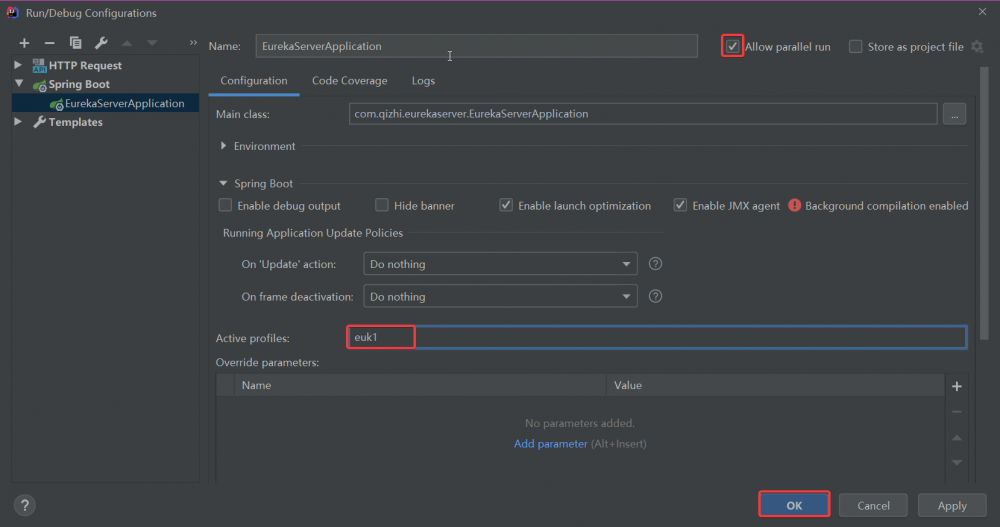
4.设置Configuration,以不同的配置文件启动两个eureka实例:
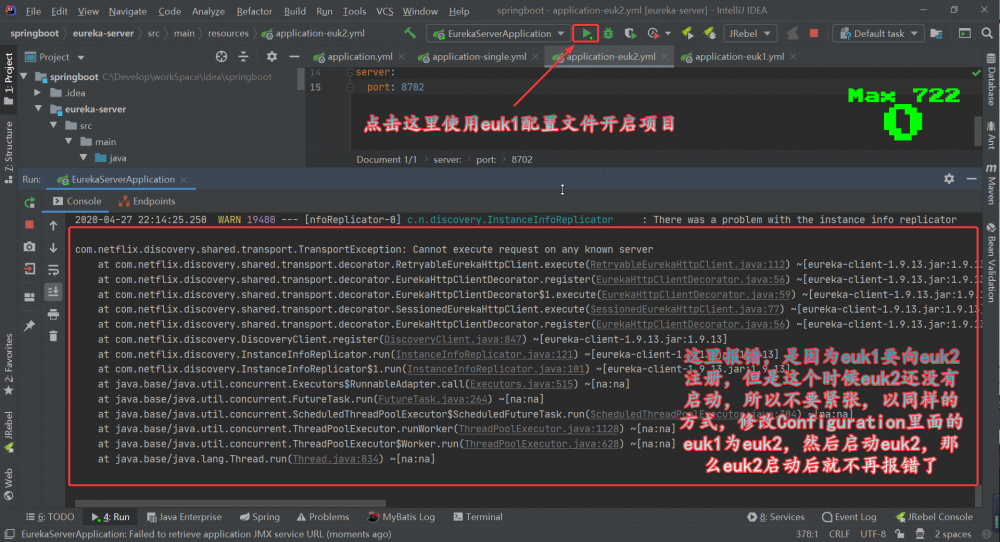
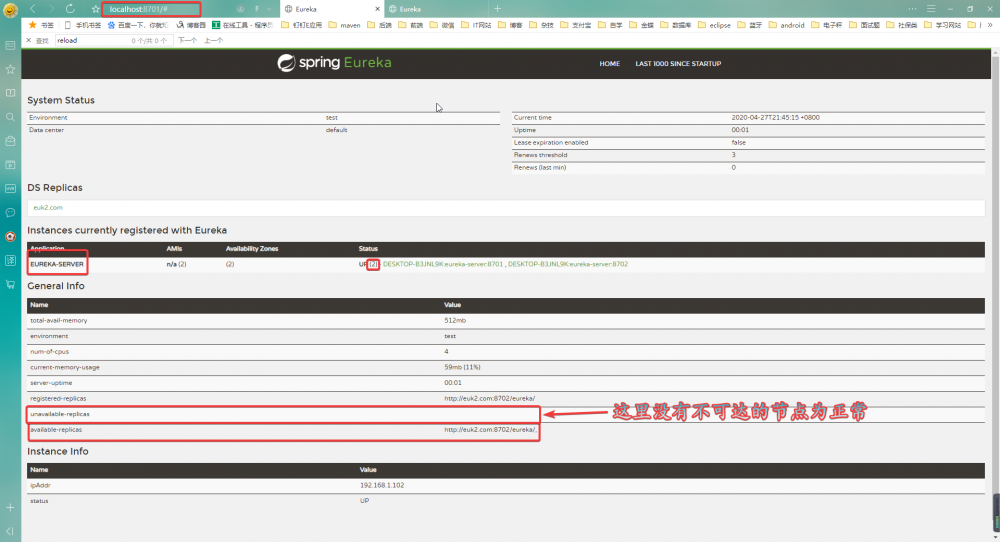
5.看一下启动正常后的运行界面:(8702端口界面也是一样的,就不贴了)
6.总结:在部署eureka单节点和高可用时候遇到的坑:
a.第一次部署eureka的时候,只是在配置文件中配置了eureka的相关配置,没有在启动类上加注解 @EnableEurekaServer,所以访问控制台报错404
b.同样服务的client要起同样的名称(spring.application.name),不然eureka不会放在同一组里面
正文到此结束
热门推荐


相关文章


Loading...
![[HBLOG]公众号](http://www.liuhaihua.cn/img/qrcode_gzh.jpg)

