每日一博 | SpringBoot JMS (ActiveMQ) 使用实践
ActiveMQ
1. 下载windows办的activeMQ后,在以下目录可以启动:
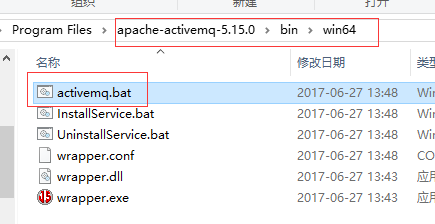
2. 启动后会有以下提示
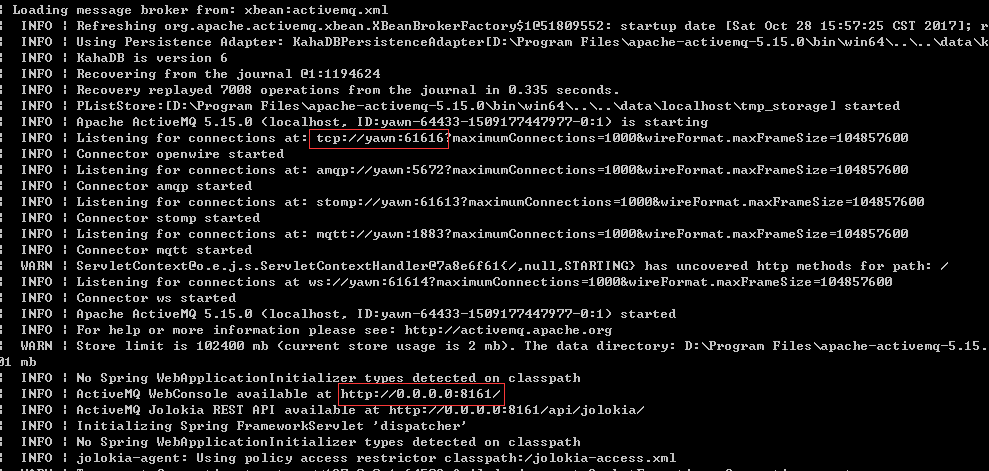
3. 所以我们可以通过http://localhost:8161访问管理页面,通过tcp://localhost:61616来连接消息服务器,用到的用户名和密码都在以下文件中(默认为admin=admin)

springboot连接ActiveMQ
1. 加入依赖:
spring-boot-starter-activemq
2. 配置连接属性:
spring.activemq.broker-url=tcp://localhost:61616
spring.activemq.user=admin
spring.activemq.password=admin
spring.activemq.pool.enabled=false
消息的发送和接收
生产者/消费者模式
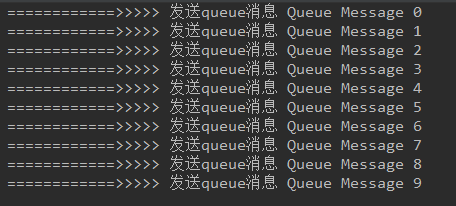
1. 创建生产者
package com.example.demo8activemq.jms;

import org.apache.activemq.command.ActiveMQQueue;
import org.springframework.jms.core.JmsMessagingTemplate;
import org.springframework.stereotype.Service;

import javax.annotation.Resource;
import javax.jms.Destination;

/**
 * @author Created by yawn on 2017-10-26 16:15
 */
@Service
public class Producer {

    @Resource
    private JmsMessagingTemplate jmsMessagingTemplate;

    public void sendMsg(String destinationName, String message) {
        System.out.println("============>>>>> 发送queue消息 " + message);
        Destination destination = new ActiveMQQueue(destinationName);
        jmsMessagingTemplate.convertAndSend(destination, message);
    }
}
2. 创建消费者
package com.example.demo8activemq.jms;

import org.springframework.jms.annotation.JmsListener;
import org.springframework.stereotype.Service;

/**
 * @author Created by yawn on 2017-10-26 16:15
 */
@Service
public class Consumer {

    @JmsListener(destination = "test.queue")
    public void receiveMsg(String text) {
        System.out.println("<<<<<<============ 收到消息: " + text);
    }
}
注意: @JmsListener是一个可重复的注解,在java7及以下版本jdk中,可以使用@JmsListeners代替它。
3. 测试类
@RunWith(SpringRunner.class)
@SpringBootTest
public class Demo8ActivemqApplicationTests {

	@Resource
	private Producer producer;

	@Test
	public void contextLoads() {
		for (int i = 0; i < 10; i++) {
			producer.sendMsg("test.queue", "Queue Message " + i);
		}
	}
}
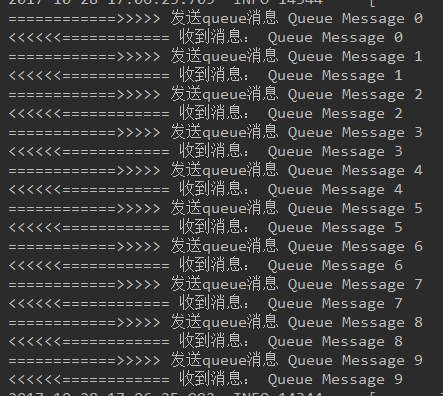
4. 运行测试
发布/订阅模式
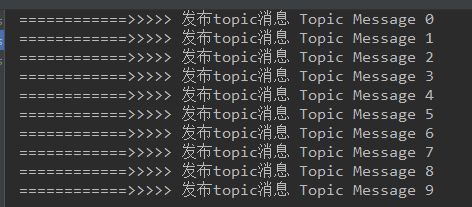
1. 发布话题
package com.example.demo8activemq.jms;

import org.apache.activemq.command.ActiveMQTopic;
import org.springframework.jms.core.JmsMessagingTemplate;
import org.springframework.stereotype.Service;

import javax.annotation.Resource;
import javax.jms.Destination;

/**
 * @author Created by yawn on 2017-10-28 17:09
 */
@Service
public class Publisher {

    @Resource
    private JmsMessagingTemplate jmsMessagingTemplate;

    public void publish(String destinationName, String message) {
        Destination destination = new ActiveMQTopic(destinationName);
        System.out.println("============>>>>> 发布topic消息 " + message);
        jmsMessagingTemplate.convertAndSend(destination, message);
    }
}
2. 订阅话题
package com.example.demo8activemq.jms;

import org.springframework.jms.annotation.JmsListener;
import org.springframework.stereotype.Service;

/**
 * @author Created by yawn on 2017-10-28 17:15
 */
@Service
public class Subscriber {

    @JmsListener(destination = "test.topic", containerFactory = "myJmsContainerFactory")
    public void subscribe(String text) {
        System.out.println("===========<<<<<<<<收到订阅的消息" + text);
    }
}
注意: 在pub/sub模式中,对消息的监听需要对containerFactory进行以下配置
@Bean
    JmsListenerContainerFactory<?> myJmsContainerFactory(ConnectionFactory connectionFactory){
        SimpleJmsListenerContainerFactory factory = new SimpleJmsListenerContainerFactory();
        factory.setConnectionFactory(connectionFactory);
        factory.setPubSubDomain(true);
        return factory;
    }
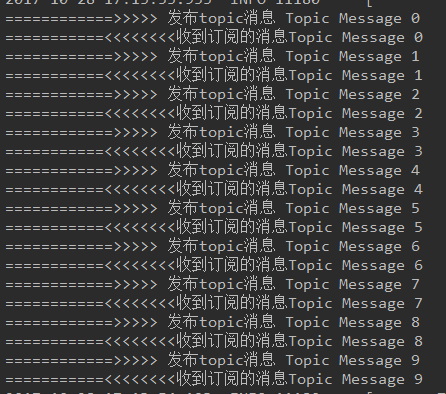
3. 测试
@Test
	public void test() {
		for (int i = 0; i < 10; i++) {
			publisher.publish("test.topic", "Topic Message " + i);
		}
	}
应用
按照以上步骤,在springboot中很容易就实现类两种模式的消息发送和接收。但是jms具体的应用场景是在不同的应用程序之间,生产者和消费者往往是在不同的应用中的。此外,以上例子中的消息我们只发送字符串,其实还可以发送Object类型的消息,甚至可以使用messageCreator自定义消息的转换,而不使用convertAndSend方法默认转换。
多个应用程序之间发送消息
1. 先使用一个只有发送者,没有消费者或订阅者的应用发送两类消息各十条
2. 我们打开localhost:8161,可以看到
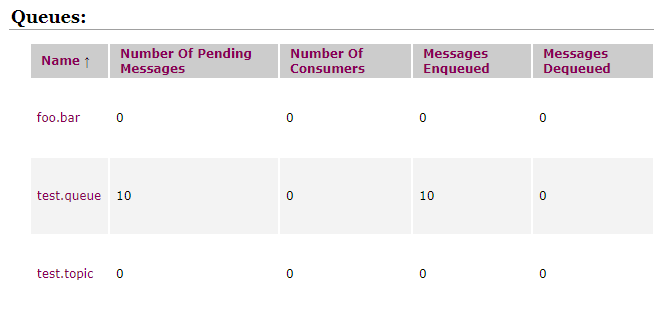
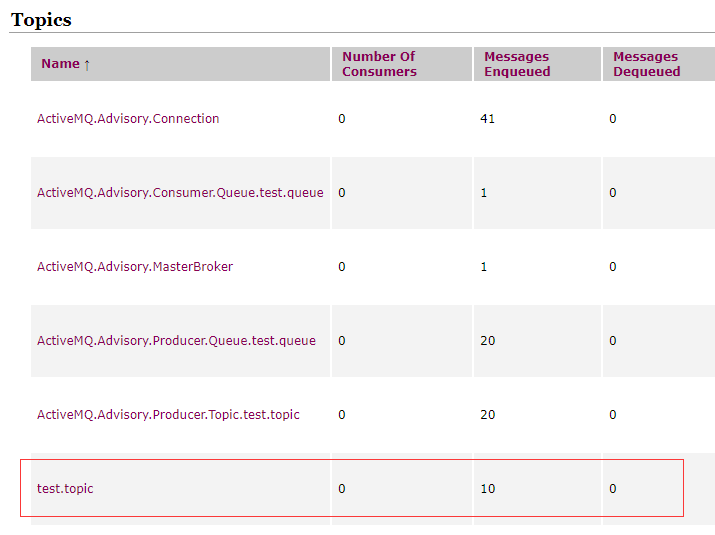
两类都曾有十条消息入队,但只有queues中还存留10条消息。
3. 现在我们启动包含消费者和订阅者的应用程序
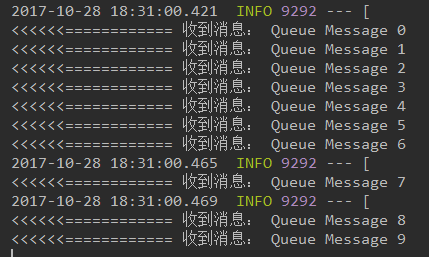
果然,只有消费者收到了queues中的消息。
这说明订阅者接收topic是需要在topic发布之前订阅;而生产/消费模式下,消息发出后会存放在队列中,等待消费者消费。
4. 我们先启动两个包含订阅者和消费者的程序,再发布消息
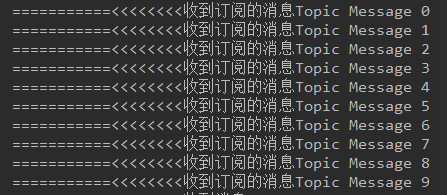
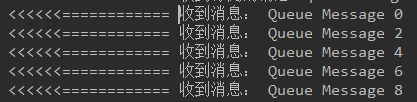
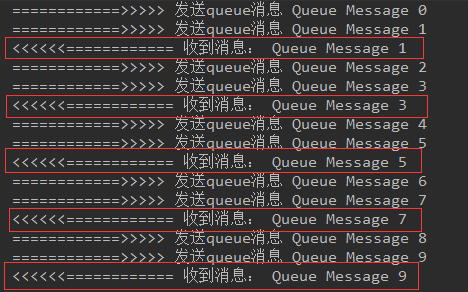
两个订阅者都收到 topic message 1~9, 而消费者中,一个收到消息 1、3、5、7、9,另一个收到0、2、4、6、8。
这说明有多个消息接收者时,生产/消费模式下多个消费者会轮流消费队列中的消息,而pub/sub模式下所有订阅者都会得到所有的消息。
以上就是在多个应用程序之间验证了发布/订阅模式和生产/消费模式的不同特点。
正文到此结束
- 本文标签: JMS MQ CTO http queue java cat consumer FAQ IO windows TCP core producer spring tar list Listeners bean 测试 管理 src message 目录 springboot DOM 下载 Service 服务器 UI example ActiveMQ id https App Word connectionFactory apache 配置 Connection
- 版权声明: 本文为互联网转载文章,出处已在文章中说明(部分除外)。如果侵权,请联系本站长删除,谢谢。
- 本文海报: 生成海报一 生成海报二
热门推荐


相关文章

近期评论
-
谢谢
-
https://www.newcmy.com/register?aff=HBVX建议您试试草莓云机场,可以流畅观看youtube和tiktok,上reddit/x也没有问题,还有各种ai优化节点。
-
-
-
想购买您这个站,我的联系方式QQ741756694微信同步 能卖联系
-
-
-
-
-
https://www.liuhaihua.cn/archives/40657.html 这篇博客中的图片打不开了
Loading...
![[HBLOG]公众号](https://www.liuhaihua.cn/img/qrcode_gzh.jpg)

