微项目:一步一步带你使用SpringBoot入门(二)
今天我们来使用JPA做分页项目并且做讲解
如果是新来的朋友请回上一篇
上一篇:微项目(一)maven整合
在pom文件的 dependencies 依赖中导入以下依赖
<dependency>
            <groupId>org.springframework.boot</groupId>
            <artifactId>spring-boot-starter-web</artifactId>
        </dependency>
然后重启项目

我们可以看到项目跑起来后运行出来一个tomcat
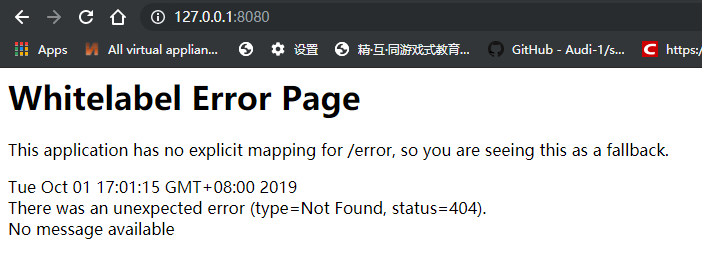
我们可以看到这里出现了404错误。虽然是错误但是出来这个就对了。
下面我们来配置对项目的增和查
在做增查之前,我们需要新建俩个包。
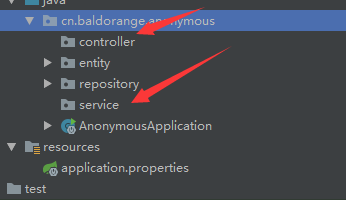
下面我们逐一填东西。
service
service是逻辑层,包括数据处理的方向,和过程。
这里第一个方法好理解,就是向数据库内添加文章。
第二个方法查代表的含义是将数据库分页,
为什么这么做呢?很简单,如果数据过多无法展示我们只能这么做。按照ID倒序排列。
package cn.baldorange.anonymous.service;

import cn.baldorange.anonymous.entity.Wall;
import cn.baldorange.anonymous.repository.WallRepo;
import org.springframework.beans.factory.annotation.Autowired;
import org.springframework.data.domain.Page;
import org.springframework.data.domain.PageRequest;
import org.springframework.data.domain.Sort;
import org.springframework.stereotype.Service;
import java.util.Date;

@Service
public class WallService {
    @Autowired
    WallRepo wallRepo;

    /**
     * 增加吐槽
     * @param title
     * @param content
     * @return
     */
    public Boolean saveNewWall(String title,String content){
        try {
            String summary = "";
            if (content.length() > 100)
                summary = content.substring(0, 99);
            else summary = content;
            Wall wall = new Wall(title, content, new Date(), summary, "0");
            wallRepo.save(wall);
            return true;
        }catch (Exception e){
            return false;
        }
    }


    /**
     * 获得匿名墙的所有文章
     * @return
     */
    public Page<Wall> findAllWalls(Integer page,Integer size){
        if(page == null) page = 0;
        if(size == null) size =10;
        PageRequest pageable = PageRequest.of(page, size, Sort.Direction.DESC, "id");
        return wallRepo.findAll(pageable);
    }
}
controller
至于Controller层就比较简单了,
但是从servlet过来的同学要注意了, @PutMapping 这里可能会给你们带来疑惑,实际上现在http请求常用的不仅仅是get和post 还有 put delete 等等我们没见过的,规定是人定的,人也能改。
package cn.baldorange.anonymous.controller;

import cn.baldorange.anonymous.entity.Wall;
import cn.baldorange.anonymous.service.WallService;
import org.springframework.beans.factory.annotation.Autowired;
import org.springframework.data.domain.Page;
import org.springframework.web.bind.annotation.*;

@RestController
@RequestMapping("/walls")
public class Controller {
    @Autowired
    WallService wallService;

    @PutMapping("/saveNewWall")
    public Boolean saveNewWall(@RequestParam String title,@RequestParam String content){
        return wallService.saveNewWall(title,content);
    }


    @GetMapping("/findAllWalls")
    public Page<Wall> findAllWalls(Integer page, Integer size){
        return wallService.findAllWalls(page,size);
    }

}
配置好后我们启动后访问这里:
http://127.0.0.1:8080/walls/findAllWalls这就是我们所见到的json数据

虽然很乱,但是我们不难发现这里面有我们数据库中的内容。还有一些其他的东西。
我们下面就需要配置接口文件了。
swagger
相信无论是前端还是后端开发,都或多或少地被接口文档折磨过。前端经常抱怨后端给的接口文档与实际情况不一致。后端又觉得编写及维护接口文档会耗费不少精力,经常来不及更新。其实无论是前端调用后端,还是后端调用后端,都期望有一个好的接口文档。但是这个接口文档对于程序员来说,就跟注释一样,经常会抱怨别人写的代码没有写注释,然而自己写起代码起来,最讨厌的,也是写注释。所以仅仅只通过强制来规范大家是不够的,随着时间推移,版本迭代,接口文档往往很容易就跟不上代码了。
首先将maven中引入swagger
<dependency>
            <groupId>io.springfox</groupId>
            <artifactId>springfox-swagger2</artifactId>
            <version>2.9.2</version>
        </dependency>
        <dependency>
            <groupId>io.springfox</groupId>
            <artifactId>springfox-swagger-ui</artifactId>
            <version>2.9.2</version>
        </dependency>
然后我们新建个包最终目录如下:
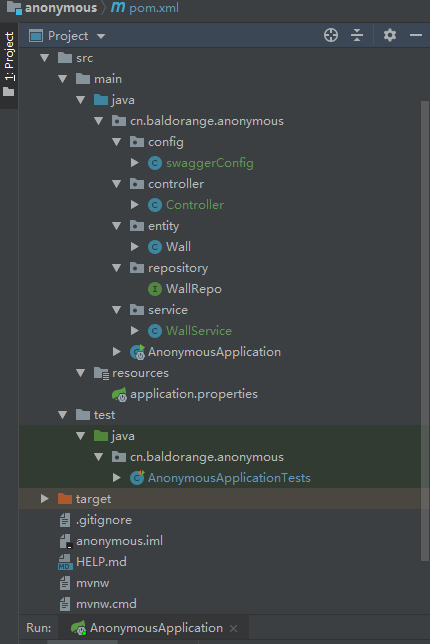
swaggerConfig配置文件如下:
package cn.baldorange.anonymous.config;

import org.springframework.context.annotation.Bean;
import org.springframework.context.annotation.Configuration;
import springfox.documentation.builders.ApiInfoBuilder;
import springfox.documentation.builders.PathSelectors;
import springfox.documentation.builders.RequestHandlerSelectors;
import springfox.documentation.spi.DocumentationType;
import springfox.documentation.spring.web.plugins.Docket;
import springfox.documentation.swagger2.annotations.EnableSwagger2;

@Configuration
@EnableSwagger2
public class swaggerConfig {
    @Bean
    Docket docket(){
        return new Docket(DocumentationType.SWAGGER_2)
                .select()
                .apis(RequestHandlerSelectors.any())
                .paths(PathSelectors.any())
                .build()
                .apiInfo(new ApiInfoBuilder().description("项目").build());
    }
}
OK我们现在重启项目:
并访问 这里
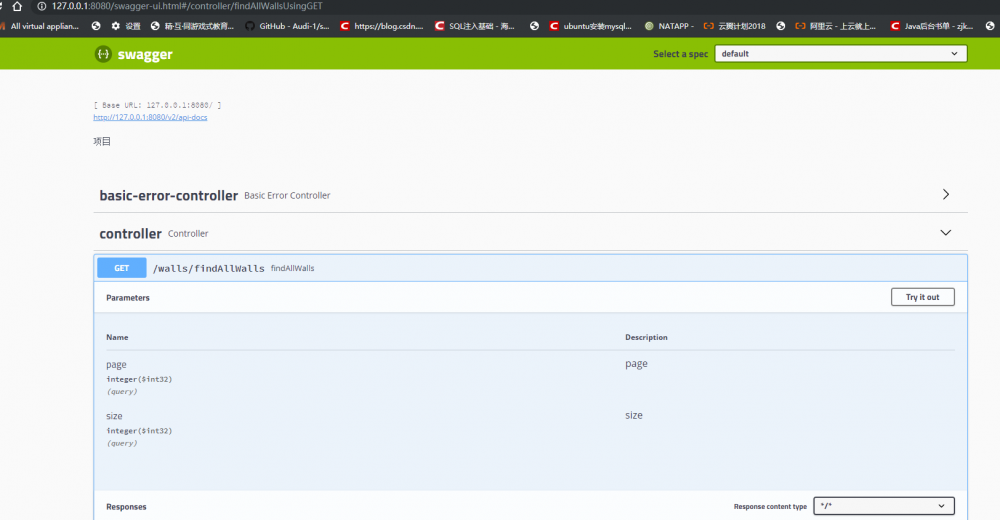
OK我们现在可以使用swagger进行接口测试了,炒鸡棒。
分页技术
数据库分页也是在数据库里写查询语句,不同的是查询的都是指定条数到指定条数的数据,不是一次性把数据全查出来。
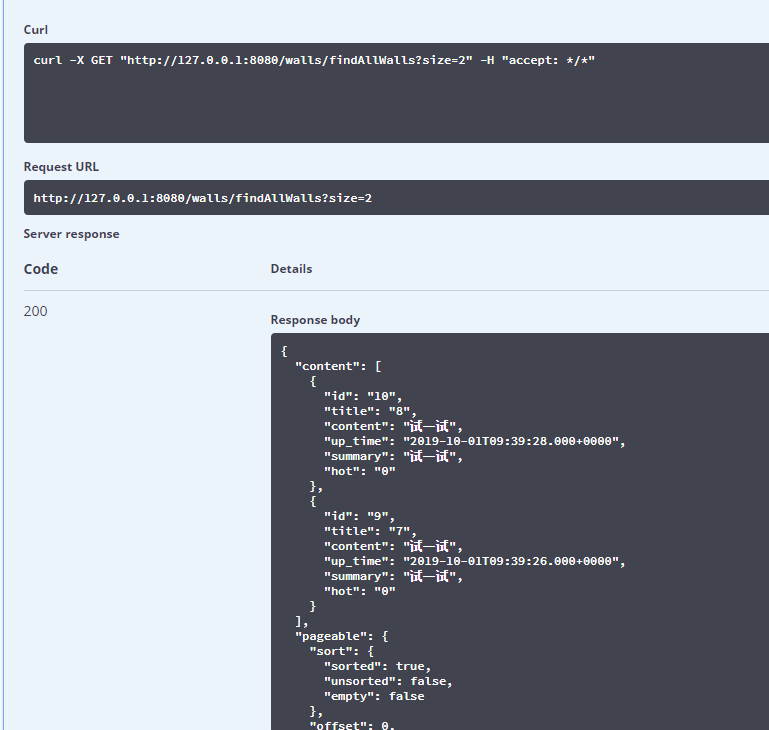
当size=2时,返回如下
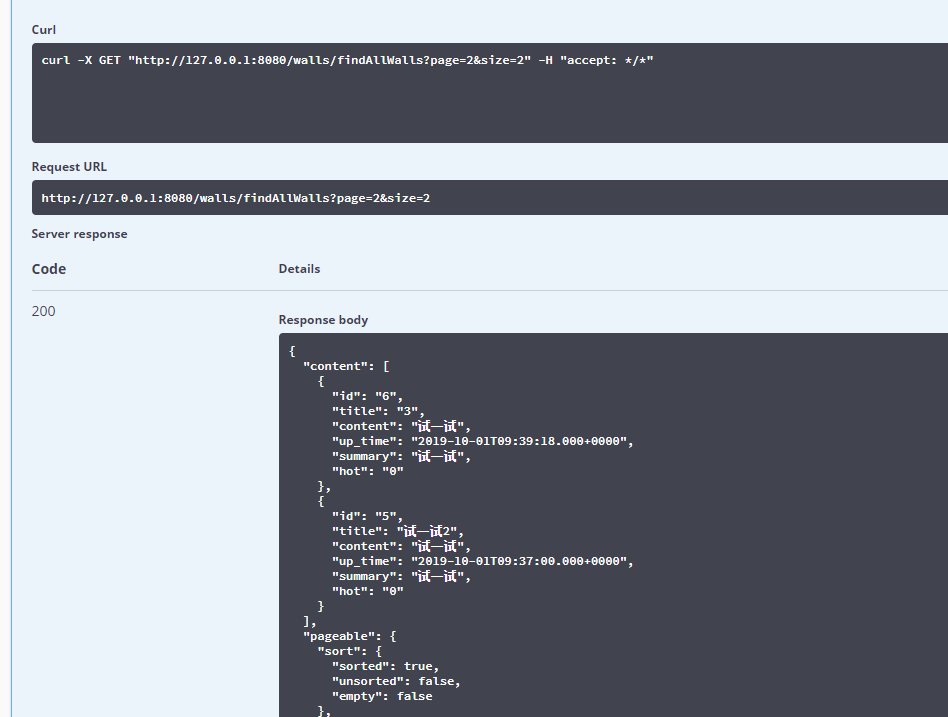
当size=2,page=2时,返回如下
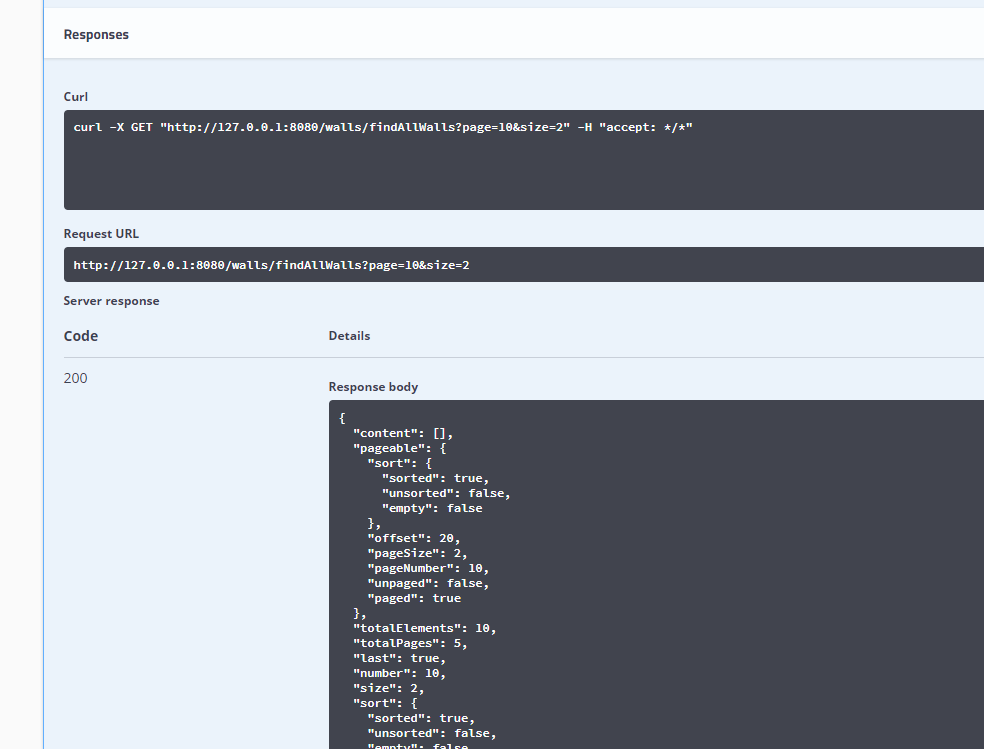
当size或者page越界时,返回如下
这里的分页后的字段描述如下:
{
    "content": [{}], // 数据列表
    "last": true, // 是否最后一页
    "totalPages": 1, // 总页数
    "totalElements": 1, // 数据总数
    "sort": null, // 排序
    "first": true, // 是否首页
    "numberOfElements": 1, // 本页数据条数
    "size": 10, // 每页长度
    "number": 0 // 当前页序号
}
不难看出,JPA的分页机制特别好用,简直不要太爽。
git推上去
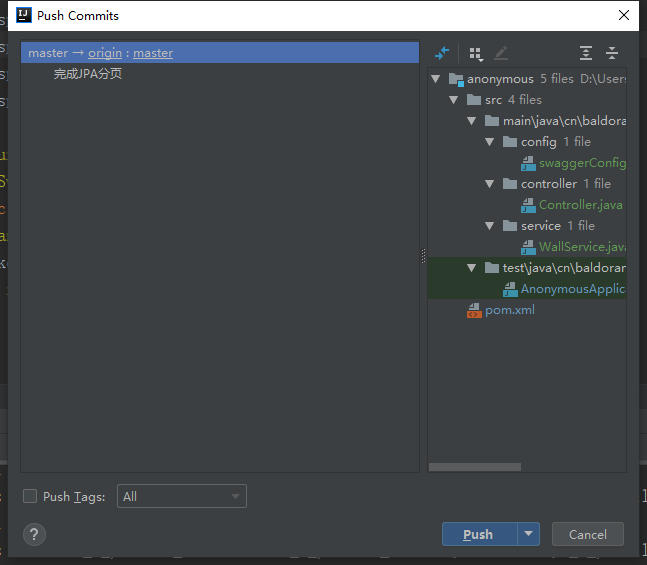
OK今天的活就完工了。
正文到此结束
- 本文标签: App maven 数据库分页 Service tar API 目录 DOM tomcat src id cat CTO 测试 分页 JPA js 数据 Document servlet build IO 数据库 注释 web REST 文章 https UI HTML 开发 plugin description 时间 java json git http 配置 程序员 pom dependencies bean find 代码 spring Select ip entity springboot map
- 版权声明: 本文为互联网转载文章,出处已在文章中说明(部分除外)。如果侵权,请联系本站长删除,谢谢。
- 本文海报: 生成海报一 生成海报二
热门推荐


相关文章

近期评论
-
https://www.newcmy.com/register?aff=HBVX
建议您试试草莓云机场,可以流畅观看youtube和tiktok,上reddit/x也没有问题,还有各种ai优化节点。 -
出现OpenClaw "device signature expired"。the Gateway rejects if Math.abs(Date.now() - signedAt) > 10 * 60 * 1000 (10 minutes)
-
-
想购买您这个站,我的联系方式QQ741756694微信同步 能卖联系
-
-
-
-
-
https://www.liuhaihua.cn/archives/40657.html 这篇博客中的图片打不开了
-
不会英语啊。
Loading...
![[HBLOG]公众号](https://www.liuhaihua.cn/img/qrcode_gzh.jpg)

