【Java】Spring和Tomcat自带的连接池实现数据库操作
前面我们已经用 Spring和传统的Jdbc实现数据库操作 、 Spring和JdbcTemplate实现数据库操作 。但是这些都是基于 直连的数据源 进行的,现在我们将介绍基于 连接池的数据源 进行数据库操作。前面几个步骤都相同。
创建数据库
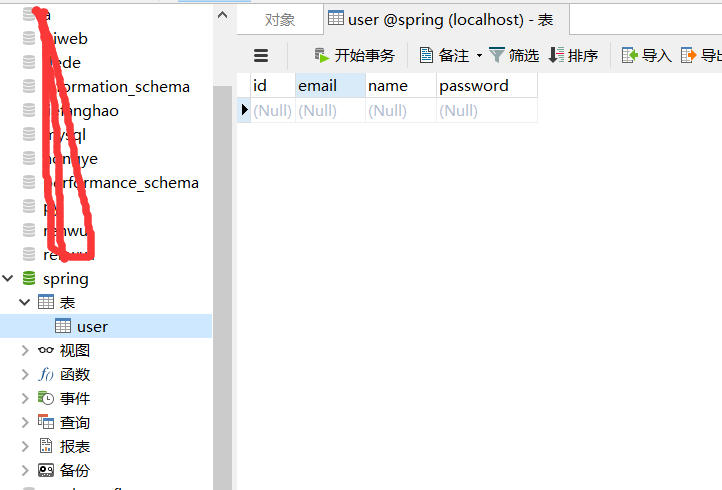
首先创建我们的数据库(这里我使用的是Mysql),为了演示方便,我这里简单的创建一个spring数据库,然后数据库有一个user用户表:
spring
CREATE TABLE `user` (
  `id` int(10) unsigned NOT NULL AUTO_INCREMENT,
  `email` varchar(255) DEFAULT NULL,
  `name` varchar(255) DEFAULT NULL,
  `password` varchar(255) DEFAULT NULL,
  PRIMARY KEY (`id`)
) ENGINE=InnoDB AUTO_INCREMENT=11 DEFAULT CHARSET=latin1;
复制代码
创建实体类
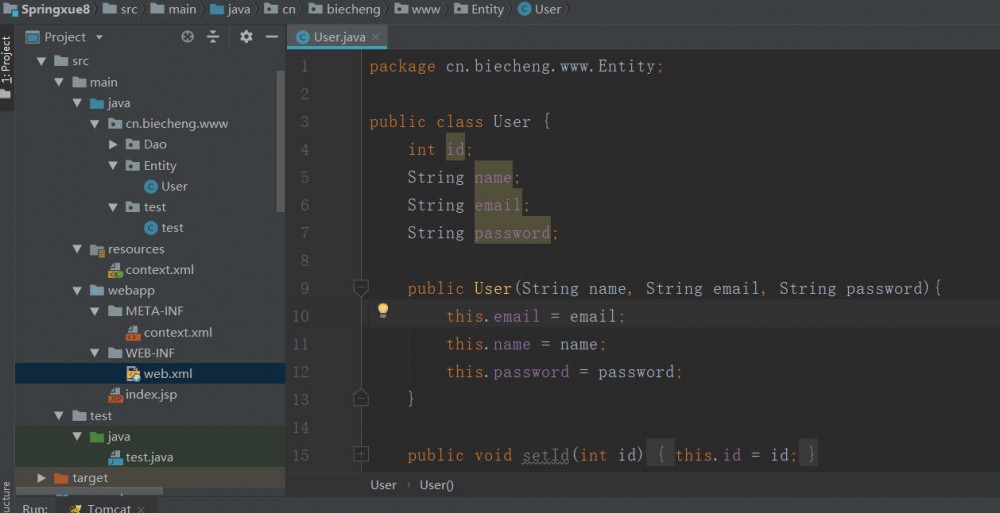
创建一个 实体类 和数据库的表相对应(模型用来储存要操作的数据)。 User.java:
package cn.biecheng.www.Entity;

public class User {
    int id;
    String name;
    String email;
    String password;

    public User(String name, String email, String password){
        this.email = email;
        this.name = name;
        this.password = password;
    }

    public void setId(int id) {
        this.id = id;
    }

    public int getId() {
        return id;
    }

    public String getEmail() {
        return email;
    }

    public String getName() {
        return name;
    }

    public String getPassword() {
        return password;
    }

    public void setEmail(String email) {
        this.email = email;
    }

    public void setName(String name) {
        this.name = name;
    }

    public void setPassword(String password) {
        this.password = password;
    }
}

复制代码
数据访问对象(DAO)模式
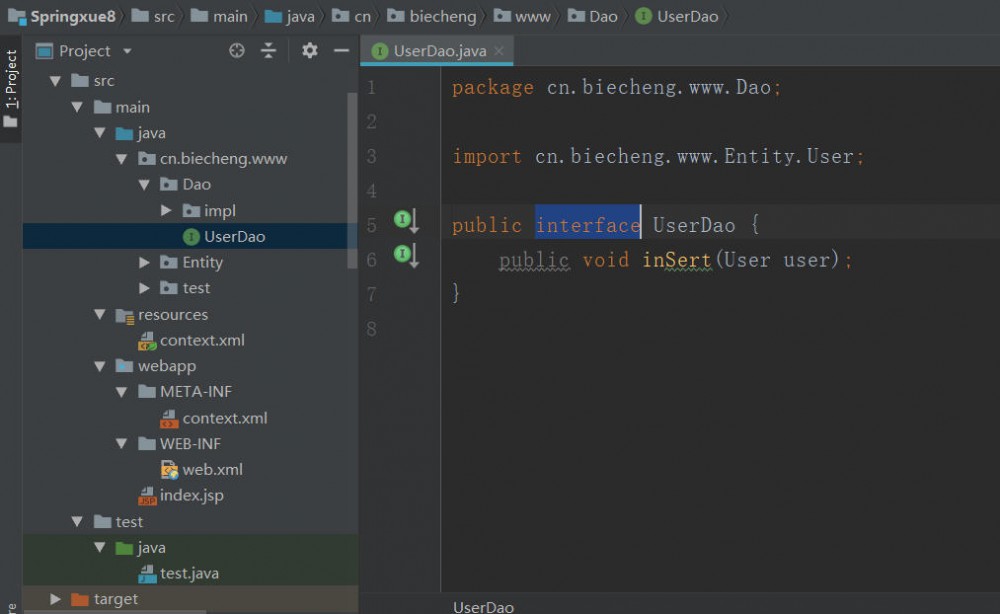
DAO(data access object),数据库访问对象,主要的功能就是用于惊险数据库操作的。 UserDao.java:
UserDao接口
package cn.biecheng.www.Dao;

import cn.biecheng.www.Entity.User;

public interface UserDao {
    public void inSert(User user);
}
复制代码
。
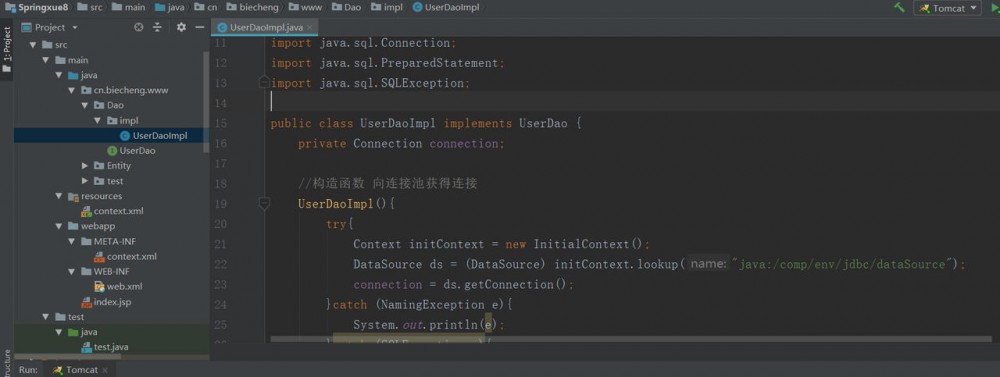
UserDao接口的实现
UserDaoImpl.java:
package cn.biecheng.www.Dao.impl;

import cn.biecheng.www.Dao.UserDao;
import cn.biecheng.www.Entity.User;

import javax.naming.Context;
import javax.naming.InitialContext;
import javax.naming.NamingException;
import javax.sql.DataSource;
import java.sql.Connection;
import java.sql.PreparedStatement;
import java.sql.SQLException;

public class UserDaoImpl implements UserDao {
    private Connection connection;

    //构造函数 向连接池获得连接
    UserDaoImpl(){
        try{
            Context initContext = new InitialContext();
            DataSource ds = (DataSource) initContext.lookup("java:/comp/env/jdbc/dataSource");
            connection = ds.getConnection();
        }catch (NamingException e){
            System.out.println(e);
        }catch (SQLException e){
            System.out.println(e);
        }
    }

    public void inSert(User user) {
        try{
            PreparedStatement ps = connection.prepareStatement("insert into user(name,email,password) values(?,?,?)");
            ps.setString(1,user.getName());
            ps.setString(2,user.getEmail());
            ps.setString(3,user.getPassword());
            ps.executeUpdate();
        }catch (SQLException e){
            System.out.println(e);
        }
    }
}
复制代码
注意这里,通过JNDI查找到数据源。
Context initContext = new InitialContext();
DataSource ds = (DataSource) initContext.lookup("java:/comp/env/jdbc/dataSource");
复制代码
然后 connection = ds.getConnection(); 在数据源中获取一个连接对象。
数据源配置
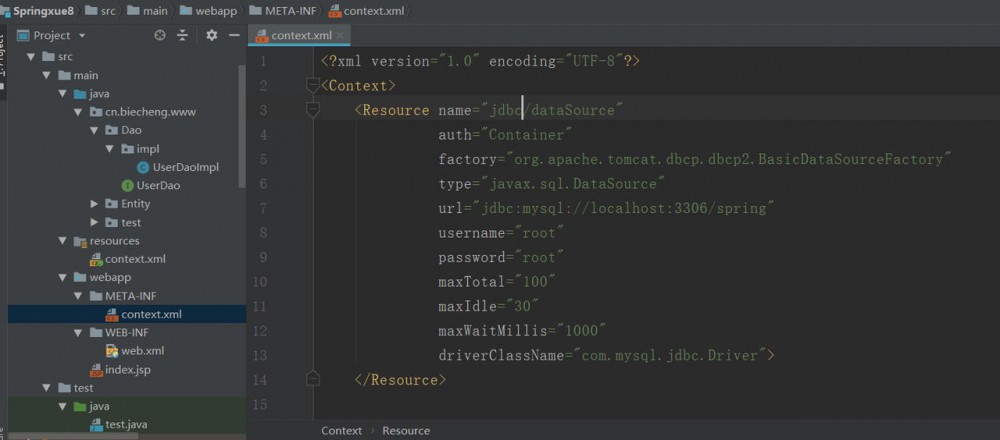
配置context.xml
在webapp中新建一个 META-INF 文件夹,然后新建个 context.xml 来配置数据源。 context.xml:
<?xml version="1.0" encoding="UTF-8"?>
<Context>
    <Resource name="jdbc/dataSource"
              auth="Container"
              factory="org.apache.tomcat.dbcp.dbcp2.BasicDataSourceFactory"
              type="javax.sql.DataSource"
              url="jdbc:mysql://localhost:3306/spring"
              username="root"
              password="root"
              maxTotal="100"
              maxIdle="30"
              maxWaitMillis="1000"
              driverClassName="com.mysql.jdbc.Driver">
    </Resource>
</Context>
复制代码
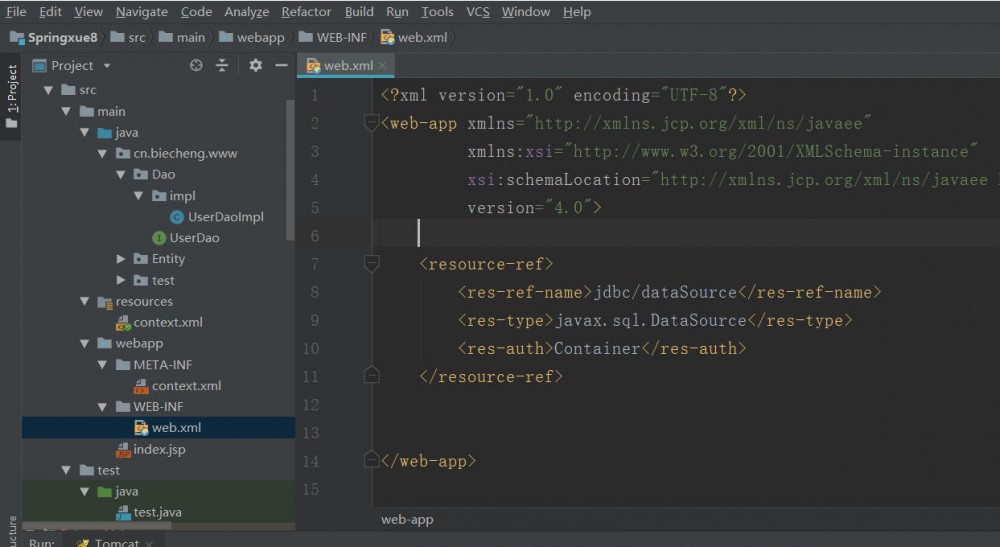
配置web.xml
在web.xml中配置context.xml的引用关系。
<?xml version="1.0" encoding="UTF-8"?>
<web-app xmlns="http://xmlns.jcp.org/xml/ns/javaee"
         xmlns:xsi="http://www.w3.org/2001/XMLSchema-instance"
         xsi:schemaLocation="http://xmlns.jcp.org/xml/ns/javaee http://xmlns.jcp.org/xml/ns/javaee/web-app_4_0.xsd"
         version="4.0">

    <resource-ref>
        <res-ref-name>jdbc/dataSource</res-ref-name>
        <res-type>javax.sql.DataSource</res-type>
        <res-auth>Container</res-auth>
    </resource-ref>
</web-app>

复制代码
测试
由于TomcatDBCP是内置在Tomcat容器的连接池,所以要使用这个连接池得运行Tomcat,接下来我们编写在Tomcat容器中实现连接池操作数据库。
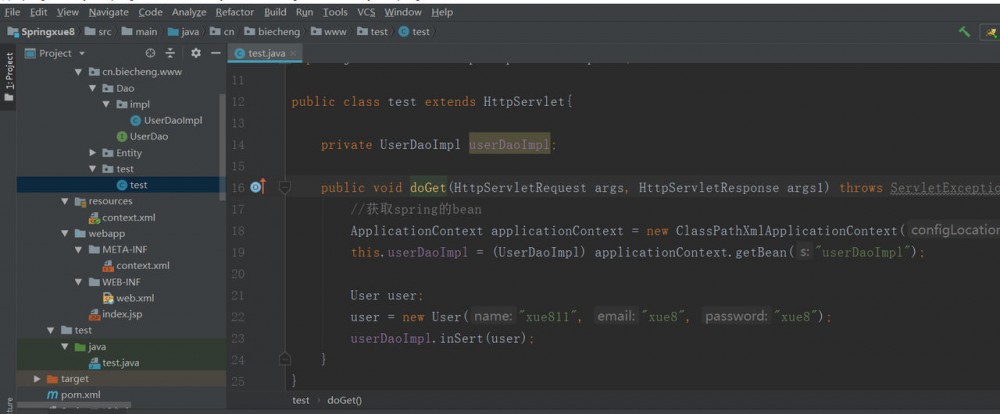
测试类
- 新建一个测试类,来测试我们的连接池操作数据库。需要注意的是,
servlet的生命周期是由 servlet容器管理 (如Tomcat)的,而Spring的Bean是由 Srping容器 管理的,所以我们在servlet容器中是无法使用@Autowired等Spring的注解的,那么如何在Spring容器外面获取到Spring容器的Bean实例呢?这就需要用到Spring为我们提供的WebApplicationContextUtils工具类,该工具的作用是获取到Spring容器的引用,进而获得我们需要的Bean实例。 test.java:
package cn.biecheng.www.test;

import cn.biecheng.www.Dao.impl.UserDaoImpl;
import cn.biecheng.www.Entity.User;
import org.apache.xbean.spring.context.ClassPathXmlApplicationContext;
import org.springframework.context.ApplicationContext;
import javax.servlet.ServletException;
import javax.servlet.http.HttpServlet;
import javax.servlet.http.HttpServletRequest;
import javax.servlet.http.HttpServletResponse;

public class test extends HttpServlet{

    private UserDaoImpl userDaoImpl;

    public void doGet(HttpServletRequest args, HttpServletResponse args1) throws ServletException {
        //获取spring的bean
        ApplicationContext applicationContext = new ClassPathXmlApplicationContext("context.xml");
        this.userDaoImpl = (UserDaoImpl) applicationContext.getBean("userDaoImpl");

        User user;
        user = new User("xue811", "xue8", "xue8");
        userDaoImpl.inSert(user);
    }
}
复制代码
- 我们在resources中新建一个context.xml进行配置Bean。 context.xml:
<?xml version="1.0" encoding="UTF-8"?>
<beans xmlns="http://www.springframework.org/schema/beans"
       xmlns:xsi="http://www.w3.org/2001/XMLSchema-instance"
       xmlns:context="http://www.springframework.org/schema/context"
       xsi:schemaLocation="http://www.springframework.org/schema/beans
       http://www.springframework.org/schema/beans/spring-beans.xsd
        http://www.springframework.org/schema/context
        http://www.springframework.org/schema/context/spring-context-2.5.xsd">

    <bean id="userDaoImpl" class="cn.biecheng.www.Dao.impl.UserDaoImpl">
    </bean>
</beans>
复制代码

Web配置
在 web.xml 配置文件中添加servlet,来处理请求。我们将/index的请求让 cn.biecheng.www.test.test 测试类进行处理。
<?xml version="1.0" encoding="UTF-8"?>
<web-app xmlns="http://xmlns.jcp.org/xml/ns/javaee"
         xmlns:xsi="http://www.w3.org/2001/XMLSchema-instance"
         xsi:schemaLocation="http://xmlns.jcp.org/xml/ns/javaee http://xmlns.jcp.org/xml/ns/javaee/web-app_4_0.xsd"
         version="4.0">

    <servlet>
        <servlet-name>index</servlet-name>
        <servlet-class>cn.biecheng.www.test.test</servlet-class>
    </servlet>

    <servlet-mapping>
        <servlet-name>index</servlet-name>
        <url-pattern>/index</url-pattern>
    </servlet-mapping>

    <resource-ref>
        <res-ref-name>jdbc/dataSource</res-ref-name>
        <res-type>javax.sql.DataSource</res-type>
        <res-auth>Container</res-auth>
    </resource-ref>

</web-app>

复制代码
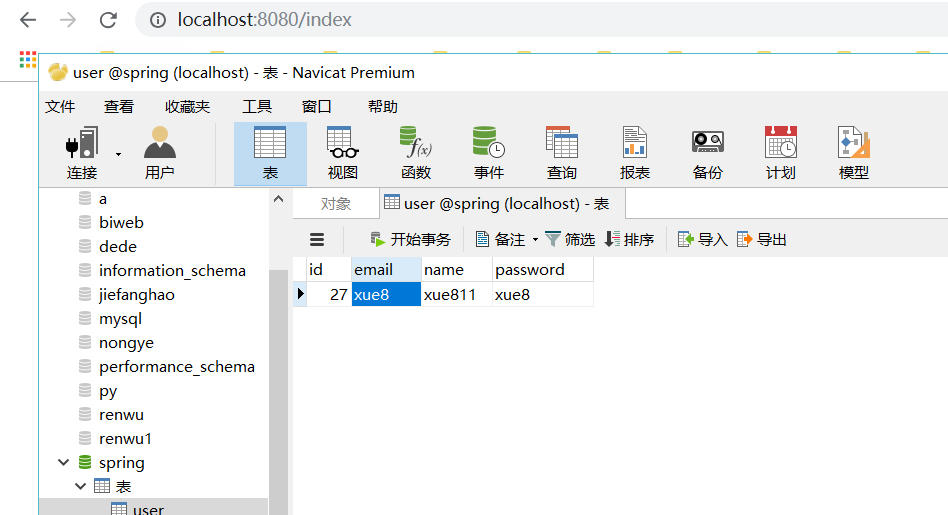
运行测试
我们在IDEA运行后,在浏览器中输入 http://localhost:8080/index ,即可在数据库中发现数据已插入。
原文地址:ddnd.cn/2018/11/26/…
正文到此结束
- 本文标签: Connection apache IO servlet UI key http classpath 数据库 连接池 代码 dataSource update bean 配置 XML entity 测试 数据库访问 tar 管理 DBCP java ACE mail map 连接池实现 实例 src root 模型 https IDE REST spring Word db sql Statement App schema web id tomcat 数据 value mysql 生命 tab cat JDBC CTO
- 版权声明: 本文为互联网转载文章,出处已在文章中说明(部分除外)。如果侵权,请联系本站长删除,谢谢。
- 本文海报: 生成海报一 生成海报二
热门推荐


相关文章

近期评论
-
ws0132613@gmail.comhttps://getmacos.com/gopanel/william smith
-
谢谢
-
https://www.newcmy.com/register?aff=HBVX建议您试试草莓云机场,可以流畅观看youtube和tiktok,上reddit/x也没有问题,还有各种ai优化节点。
-
-
-
想购买您这个站,我的联系方式QQ741756694微信同步 能卖联系
-
-
-
-
Loading...
![[HBLOG]公众号](https://www.liuhaihua.cn/img/qrcode_gzh.jpg)

