Elixir 下开发嵌入式系统开发小试身手
原材料
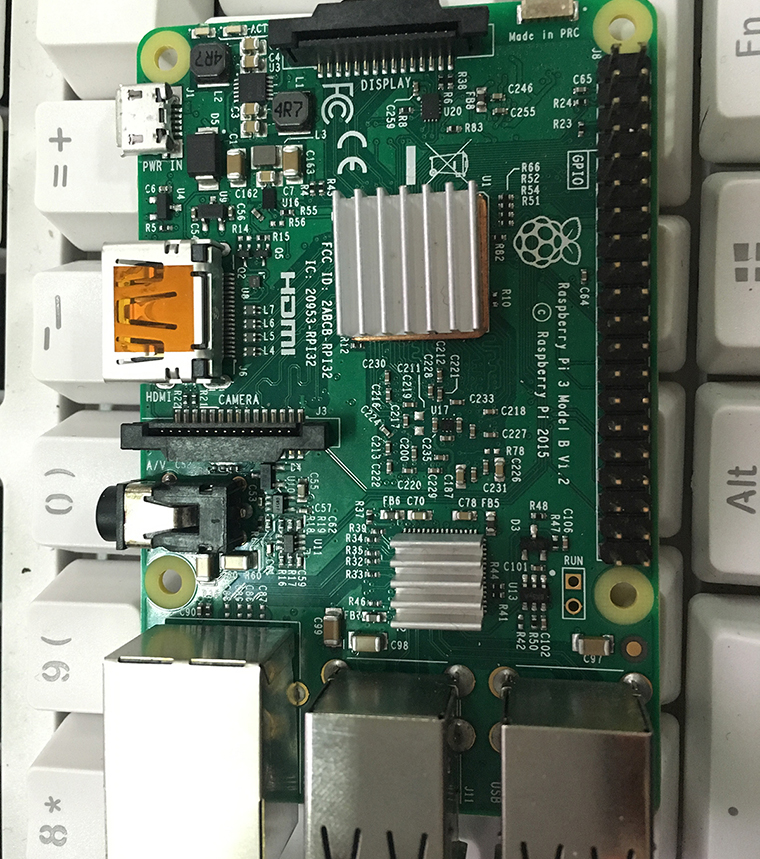
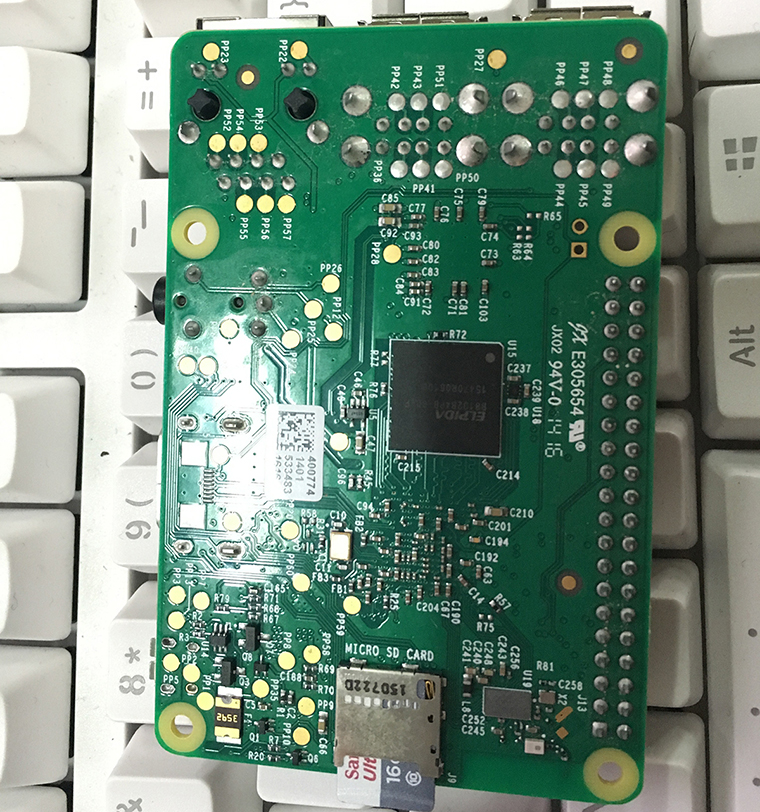
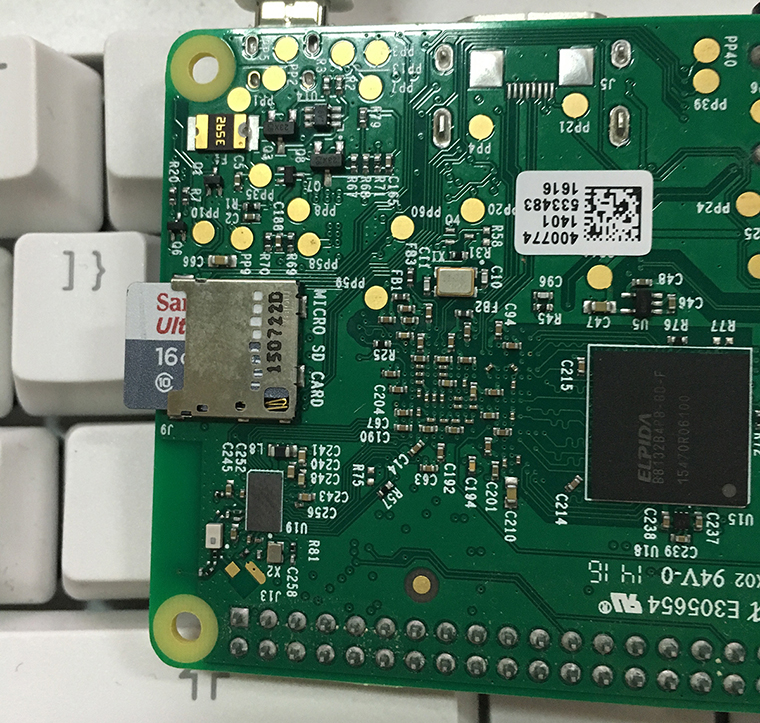
Respberry Pi 3 Model B 一个
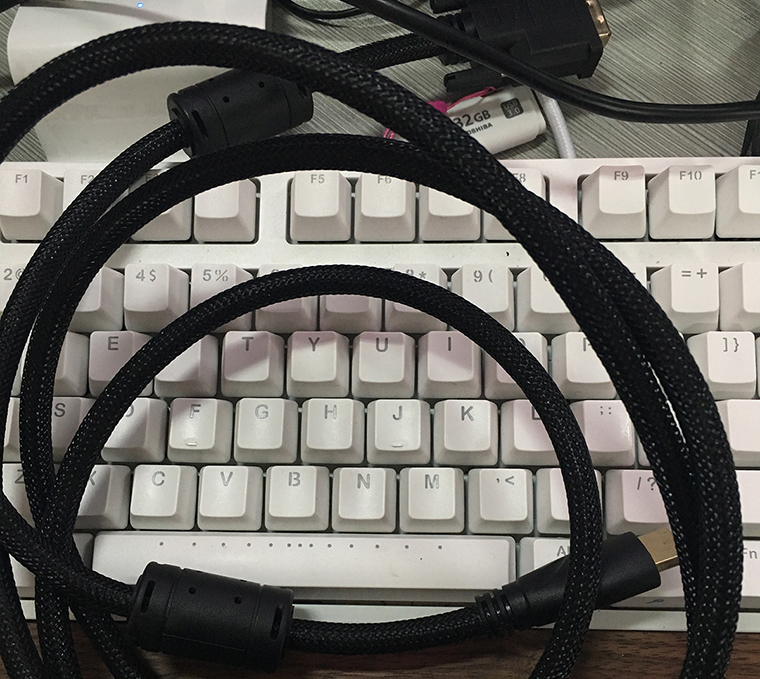
HDMI 转 DVI显示输出数据线一根
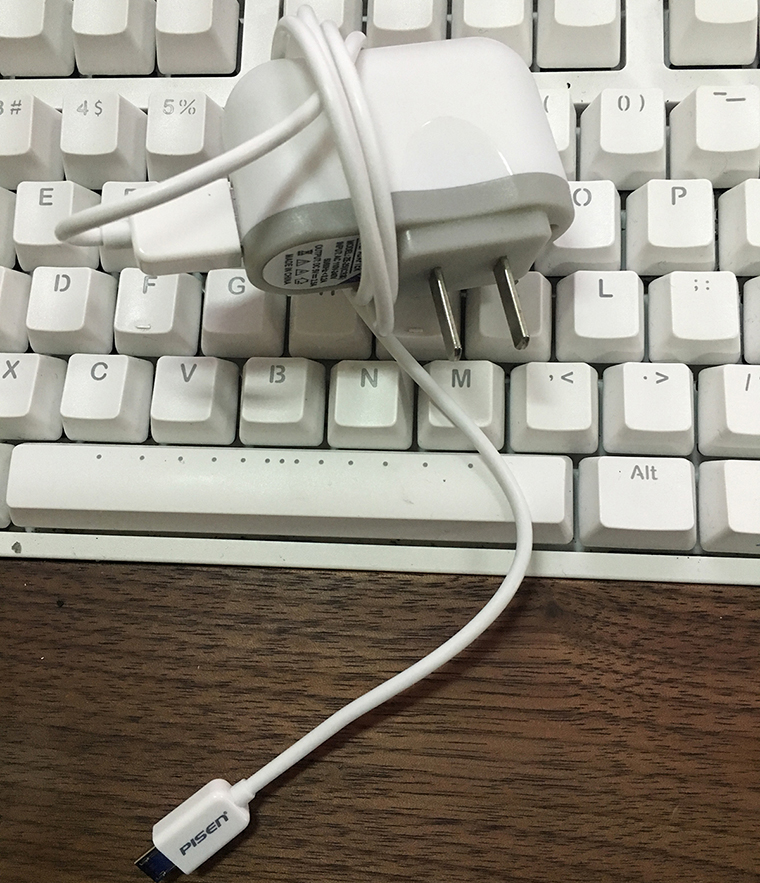
USB 电源一个
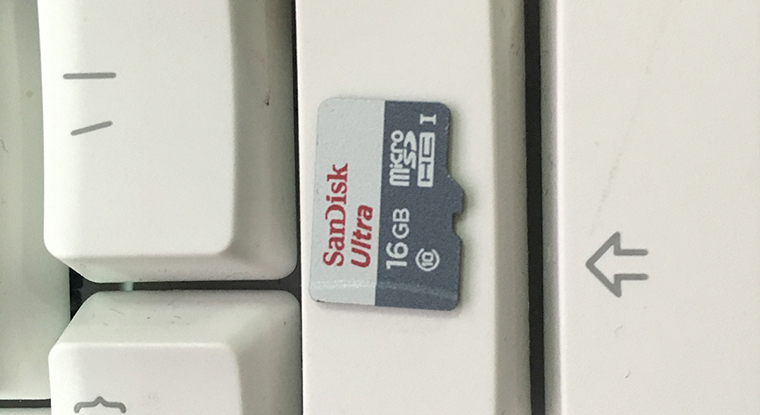
16G SD卡一张
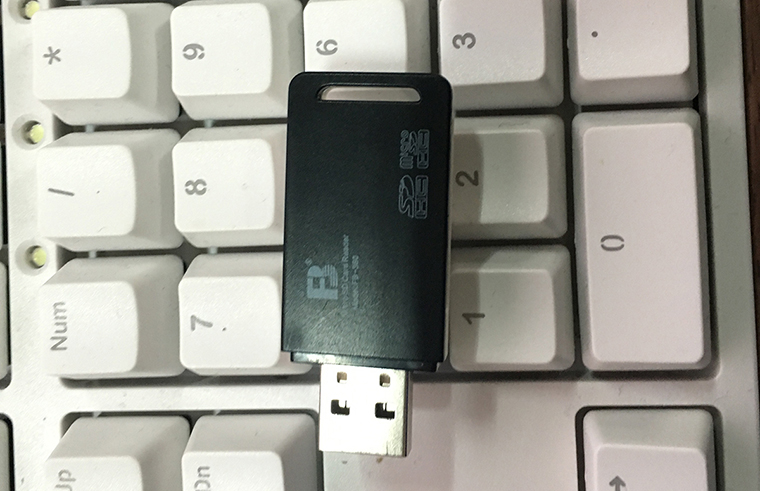
SD 卡读卡器
过程
创建 Nerves 项目
第一步, 创建外层项目和子项目
# 创建伞状项目
mix new hello_phoenix --umbrella

# 创建子项目
cd hello_phoenix/apps
# 创建固件子项目
mix nerves.new fw --target rpi3
# 前端显示界面项目
mix phoenix.new ui --no-ecto --no-brunch
配置 Nerves 项目
修改固件配置文件, 把 Application 添加到启动列表中
# hello_phoenix/apps/fw/mix.exs

def application do
  [mod: {Fw, []},
   applications: [:logger, :ui, :nerves_interim_wifi]]
end
启动网络
# hello_phoenix/apps/fw/lib/fw.ex

defmodule Fw do
  use Application

  @interface :eth0
  # @opts [mode: "static", ip: "10.0.10.3", mask: "16", subnet: "255.255.0.0"]
  @opts [mode: "dhcp"]

  def start(_type, _args) do
    import Supervisor.Spec, warn: false
    children = [
      supervisor(Phoenix.PubSub.PG2, [Nerves.PubSub, [poolsize: 1]]),
      worker(Task, [fn -> start_network end], restart: :transient)
    ]

    opts = [strategy: :one_for_one, name: Fw.Supervisor]
    Supervisor.start_link(children, opts)
  end

  def start_network do
    Nerves.Networking.setup @interface, @opts
    opts = Application.get_env(:fw, :wlan0)
    Nerves.InterimWiFi.setup "wlan0", opts
  end
end
修改配置文件 hello_phoenix/apps/fw/config/config.exs , 注意把监听地址从 localhost ,修改为 0.0.0.0 , 以便让局域网中的其他机器能够访问.
use Mix.Config

# Phoenix 端点
config :ui, Ui.Endpoint,
  http: [port: 80],
  url: [host: "0.0.0.0", port: 80],
  secret_key_base: "9w9MI64d1L8mjw+tzTmS3qgJTJqYNGJ1dNfn4S/Zm6BbKAmo2vAyVW7CgfI3CpII",
  root: Path.dirname(__DIR__),
  server: true,
  render_errors: [accepts: ~w(html json)],
  pubsub: [name: Ui.PubSub,
           adapter: Phoenix.PubSub.PG2]

# 日志
config :logger, :console,
  level: :debug,
  format: "$date $time $metadata[$level] $message/n",
  handle_sasl_reports: true,
  handle_otp_reports: true,
  utc_log: true

# 网络配置
config :fw, :eth0,
  opts: [mode: "dhcp"]

config :fw, :wlan0,
  ssid: "gx888888",
  key_mgmt: :"WPA-PSK",
  psk: "gx888888"
编译(可能会有翻墙的需要)
➜  hello_wifi git:(master) ✗ MIX_ENV=prod NERVES_TARGET=rpi3 mix compile
==> nerves_system
Compiling 14 files (.ex)
Generated nerves_system app
==> nerves_system_br
Generated nerves_system_br app
==> nerves_toolchain
Compiling 2 files (.ex)
Generated nerves_toolchain app
==> nerves_toolchain_arm_unknown_linux_gnueabihf
Compiling 1 file (.ex)
Generated nerves_toolchain_arm_unknown_linux_gnueabihf app
[nerves_toolchain][compile]
[nerves_toolchain][http] Downloading Toolchain
依赖配置
注意, 现在需要使用 0.7 的系统, 0.6.1 的系统WIFI驱动是有问题的, 为此, 我们需要修改 hello_phoenix/apps/fw/mix.exs 配置文件的 deps 和 system 为如下:
def deps do
  [
    {:nerves, "~> 0.3.0"},
    {:nerves_interim_wifi, github: "nerves-project/nerves_interim_wifi"},
    {:ui, in_umbrella: true}]
end

def system(target) do
  [
    # {:"nerves_system_#{target}", ">= 0.0.0"}
    {:"nerves_system_#{target}", github: "nerves-project/nerves_system_rpi3"}
  ]
end
把 :ui 和 :nerves_interim_wifi 添加到启动列表中
def application do
  [mod: {Fw, []},
   applications: [:logger, :ui, :nerves_interim_wifi]]
end
修改 hello_phoenix/app/fw/mix.exs 中的依赖路径和构建路径
def project do
  [app: :fw,
   version: "0.0.1",
   target: @target,
   archives: [nerves_bootstrap: "~> 0.1.4"],
   deps_path: "../../deps/#{@target}",
   build_path: "../../_build/#{@target}",
   lockfile: "../../mix.lock",
   build_embedded: Mix.env == :prod,
   start_permanent: Mix.env == :prod,
   aliases: aliases,
   deps: deps ++ system(@target)]
end
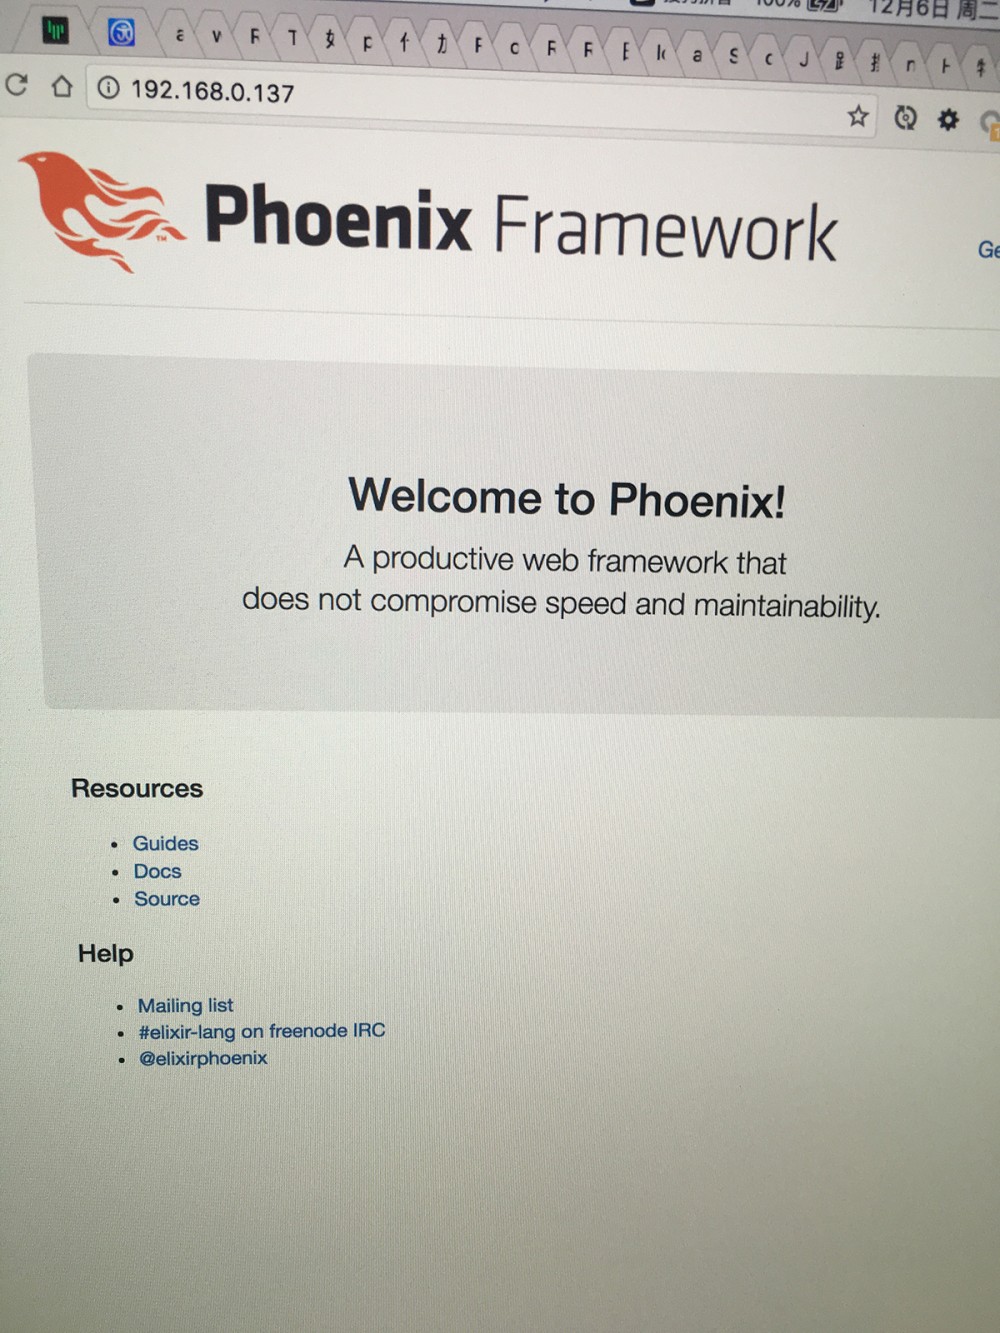
UI 测试, 往设备烧之前可以先在主机系统上测试一下, 没问题后再制作固件并烧到Pi上.
cd hello_phoenix/app/ui
iex -S mix phoenix.server
制作固件, 固件的制作需要切换到 hello_phoenix/app/fw 去执行, 切记不要在伞状项目 hello_phoenix 的根目录运行.
cd hello_phoenix/app/fw
mix deps.get
mix firmware
mix firmware.burn
在Mac上, mix firmware.burn 会提示你确认烧录的目标(别烧错了, 特别是插入了多个SD卡的时候), 并需要输入系统登录密码.
注意事项
下面是几个要注意的方面
一. 环境变量
为了避免每个项目都重复下载系统镜像包, 在命令行中执行
export NERVES_SYSTEM_CACHE=local
或添加到 ~/.profile , ~/.bashrc (BASH), ~/zshrc (ZSH)中.
二. Erlang 版本 需要安装 OTP 19
运行结果
总结
简化了嵌入式系统的开发, 把嵌入式开发带入到普通程序员群体. 如果你使用的是官方支持的开饭, 甚至不需要了解底层的任何东西, 只要了解Elixir就可以了, 对物联网应用开发有极大的促进作用.
源代码仓库
https://github.com/developerw...
可以Clone下来仔细看Git日志, 详细说明了如何从从头开始配置一个新的Nerves项目.
正文到此结束
热门推荐


相关文章

近期评论
-
出现OpenClaw "device signature expired"。the Gateway rejects if Math.abs(Date.now() - signedAt) > 10 * 60 * 1000 (10 minutes)
-
-
想购买您这个站,我的联系方式QQ741756694微信同步 能卖联系
-
-
-
博主的博客用的什么技术栈,内容都是干货,赞
-
-
https://www.liuhaihua.cn/archives/40657.html 这篇博客中的图片打不开了
-
不会英语啊。
-
Loading...
![[HBLOG]公众号](https://www.liuhaihua.cn/img/qrcode_gzh.jpg)

